-
Posts
2,952 -
Joined
-
Last visited
-
Days Won
302
Content Type
Profiles
News & Announcements
Zombies Library
Easter Egg Guides
Intel
Forums
Everything posted by anonymous
-
Around the map there are pictures with Nova-6 gas coming from behind: one at Beds, one at Lounge and one at the 2nd floor of the Green House. You need to guide a 'brain rot zombie' near the pictures to knock them down. Such zombie can be created by using the alternative ammo weapon upgrade of the Pack-a-Punch, or by using the CTRL Z Elixir. Behind the pictures, you will find three codes that will need to be entered into Rushmore.
-
Get a Jolting Jack in the Power Building to electrocute the server core. This will allow the core to be removable and you can place it in the open slot in the Operations Building. But do this as quick as possible! Hint: This step is timed, so the best way to complete is place a Telepad in powerhouse and another in prisoner holding. Having the Katana Specialist enabled also allows you to move faster.
-
Activate Sergeant A.D.AM.: Navigate to Operations and interact with Rushmore. Locate the following codes in the listed order, as Rushmore commands. Enter each code into Rushmore in quick succession or else you will fail. Operation Toy Soldier: This code is always 7626 Sawyer: APD Interrogation - Top of desk behind a TV Peter McCain: APD Control - Shoot or Melee this stack of papers to reveal the code Pernell: Solitary - Obtain key in key box in Solitary, use the key to open the desk drawer in Yellow House Upstairs. A.D.A.M. can now be found in the Storage Room, ready to activate, he will follow you for 3 rounds and it costs a total of 3000 Points to activate him after your first activation. Now guide him to the bunker stairwell between the Green House and Diner. Get him near the greed door and Marlton will open the door and give you a 115 canister. Return the 115 canister to a shelf in the Transfusion Facility. Once the canister is returned report to Operations and interact with Rushmore.
-
-
So the format of the three codes is [letter, number, number, number, number]. The letter indicates which house you need to go to and the number is the time that you need to set on the clock in each hours. (Example: If one of the codes that you got was A0115, you must enter the Yellow House and place the time 1:15 on the clock within that house). Make sure to input the times correctly or you will fail and have to interact with the TV next round again. The letters can be found on the mailboxes, however, the list is provided below: Letter to House List: A - Yellow House B - Green House C - Prisoner Holding D - Transfusion Facility E - Operations F - APD Interrogation After setting all the clocks, find that house that was not included in the code. Interact with the clock and it will give you a time. The time is a code that you need to place into Rushmore. (Example: The time the clock gives you is 6:15. This means that you must input 0615 into Rushmore). After that, interact with Rushmore to complete the step.
-
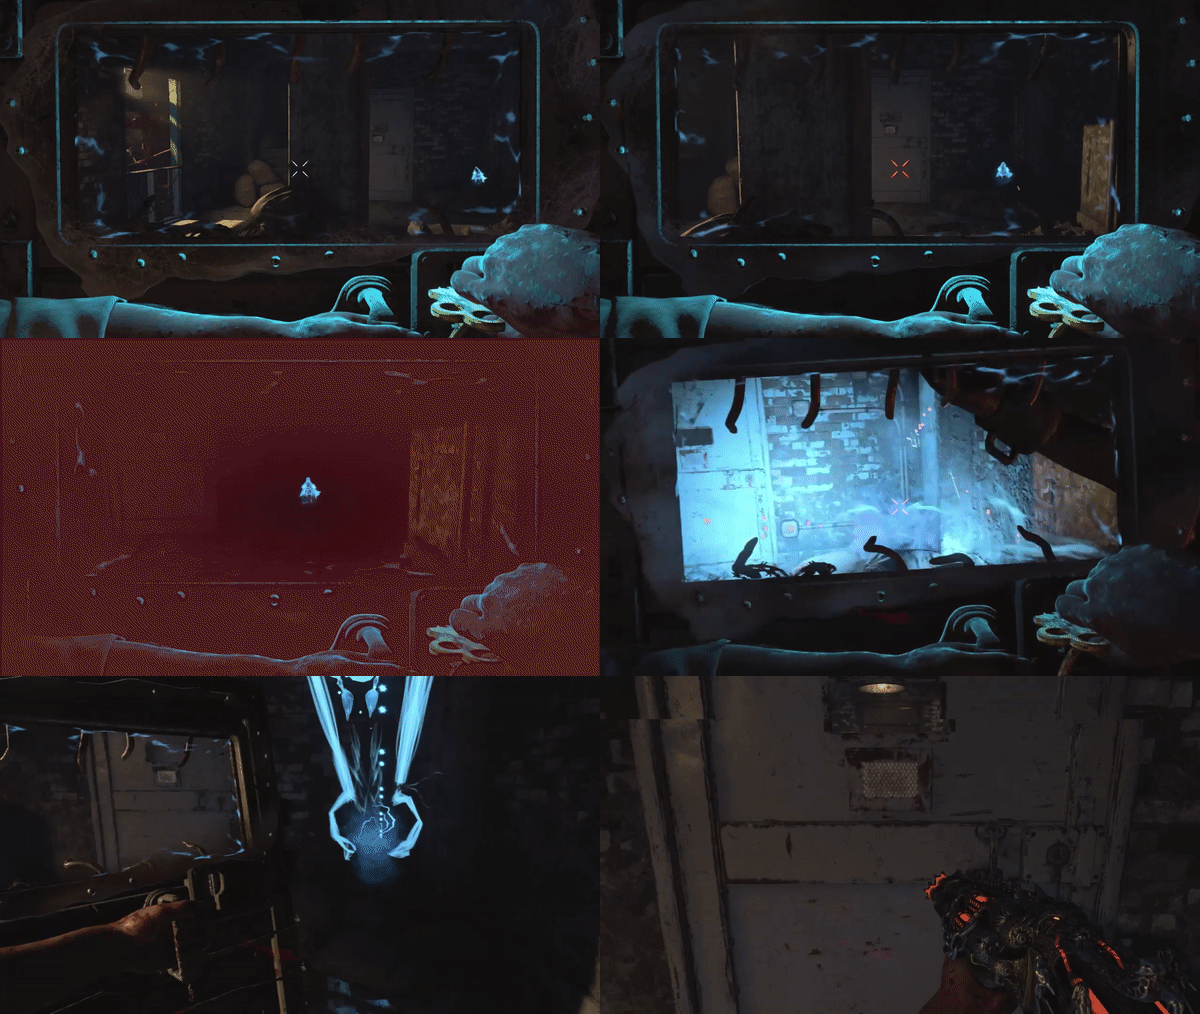
Next, purchase Galvaknuckles for 6000 points within the bus at the central Cul-de-sac. Go back to the bunker and find a TV with static. The exact location changes each game but it is located somewhere within the bunker. For this part having your subtitles on is recommended! Once you've found the TV, kill a zombies with the Galvaknuckles in front of it, and listen closely. You will hear a recording of 3 codes in the format [letter, number, number, number, number].
-
First, activate the Pack-a-Punch machine following these three steps: 1. After you've turned on the power, head to the generators room in the bunker and interact with the red computer screen. A lock-down will be activated, spawning a horde of zombies and Nova-6 crawlers. Survive this horde for one minute and the lock down will be over. 2. Go to the Center Street and find the four houses with this green Nova gas leaking out of them. 3. Find the ventilation units and press the interact button to repair After following these steps, the blast shield will open up and you will be able to Pack-a-Punch in the bunker. Now head back to the Rushmore AI for the next step
-
There are two stages to the boss battle. Be warned this can be a timely step. The first stage is just you and your team killing Zombies until Brutus appears. The second stage involves Brutus charging up an attack. Red zones will appear on the ground. Step into the zones and shoot glowing red orbs floating above Brutus. After removing the orbs, shield blast Brutus. An orb will now float above the Blood Machine in the center of the stage. Shield blast the orb. Repeat Steps 1-3 a total of three times. After the third time, have the Player who is Richtofen interact with the Blood Machine (A bot may spawn if the quest is being done in Solo/no Richtofen is available). Take control of Primis Richtofen after a brief cutscene and make your way back to the Boss Fight entrance (where #4 of Step 6 took place). The ending cutscene will occur after your character enters the stage.
-
After being released from the jail cells, grab your arsenel from a sack found right before exiting the Cell Block 2nd floor (going into the Library). Make sure you also have your shield! Follow the bird from Step 3 slowly. After Brutus is alerted, head back to Richtofen's Laboratory, being careful of the infinite dog spawns. After watching the Mob of the Dead ghosts fend of Brutus, a red orb will appear like before. Collect it and head inside to the Laboratory, placing the final orb on the map as before. A door will open in the corner of the Laboratory. Enter through and have each player stand on a small pad with yellow lights on the floor at the top of the stairs. You will now enter the Boss Fight.
-
-
Go back to the Warden's Ritual Room at the top floor of the Warden's house and put the Kronorium on the Warden's corpse. Use the shield to look at the Kronorium, which will give you three numbers. Place these three numbers into the number generator down in the Citadel Tunnels and the lighthouse will show you the location of a portal. Look at and blast the portal using the shield to begin the portal's challenge. There are 5 challenges, and if you mess up any challenge, you will have to repeat the beginning of this step with new numbers. Collect a red orb from each portal, which you will need to collect all of them to progress to Step 5. Here's an excerpt from r/codzombies pertaining to this step for each portal challenge:
-
Grab the red orb from the previous step and place it on the spawn map (hanging on the wall). Activate the Kronorium and chase the ghost bird back to the prison. The location of where the bird goes may vary. You will need to use the Spectral Shield to see the bird, but there are several locations including. Note: On the 4th bird, you can only see the bird in Zombie Blood. Listen out for the bird or the Warden crying to locate the area of the bird. Use the number 8-7-2 on the number generator in the Citadel Tunnels to obtain the Zombie Blood. Instead of the shield, throw your Hell's Retriever/Redeemer at the bird and it will drop the Kronorium which you can then pick up. There are 40 possible locations (20 currently listed): Richtofen's Laboratory 2nd floor West Grounds truck Catwalk entrance Recreation Yard on a tall rock Cell Block 2nd floor volt meter (where Electric Cherry used to be) Cell Block near Monkey Bomb statue under 2nd Wolf Head Library top of bookshelf Michigan Avenue across Warden's Office entrance Time's Square above Cafeteria entrance Showers near washing machine Warden's Office entrance Warden's Office above fireplace Warden's Office outside on balcony Roof doorway Citadel Tunnels as you go down from Warden's Office Citadel Tunnels right of number generator Citadel Tunnels on number generator Citadel Tunnels on a sandbag Citadel Tunnels outside near power room Docks near perk machine
-
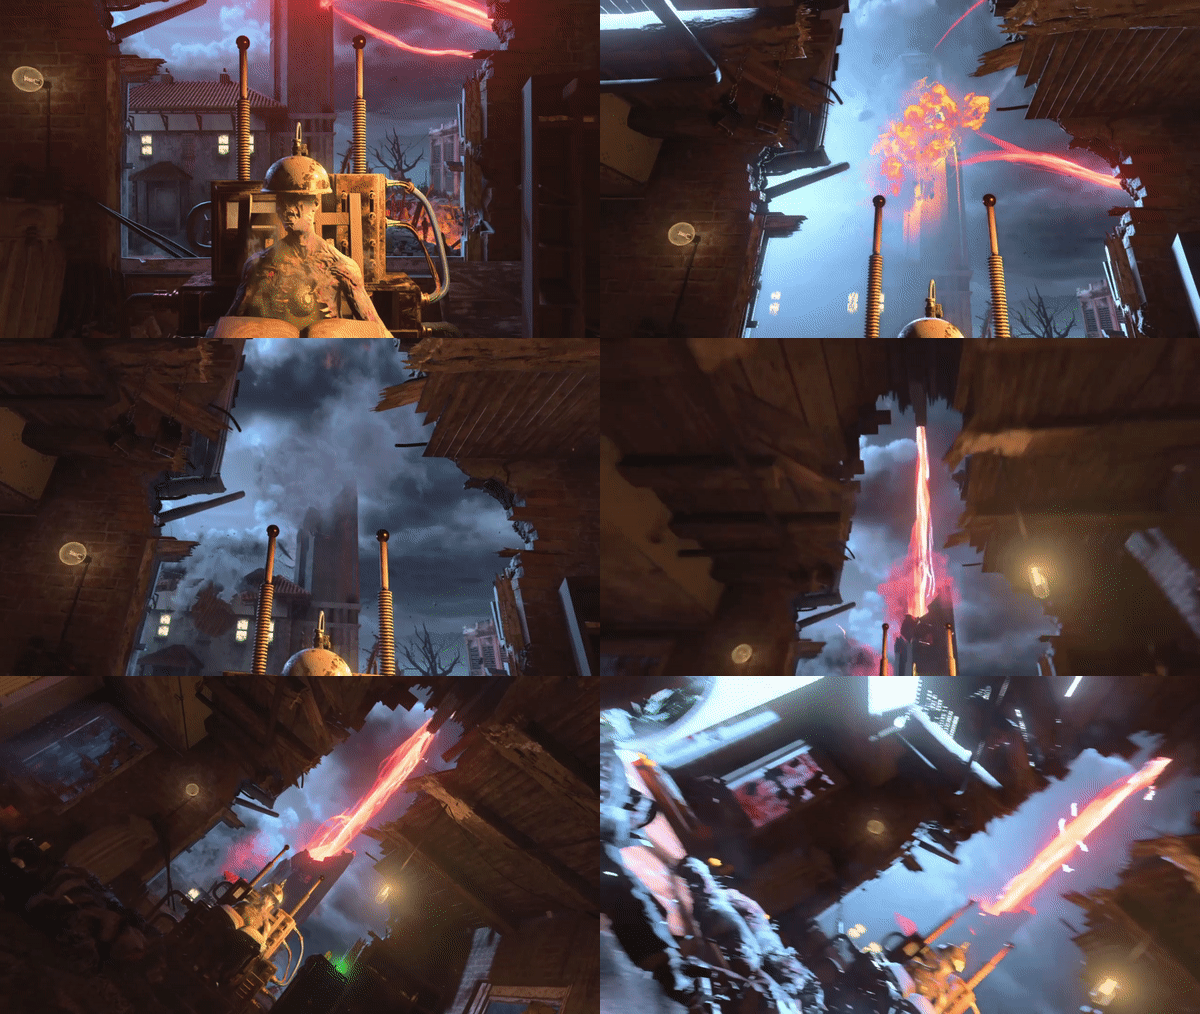
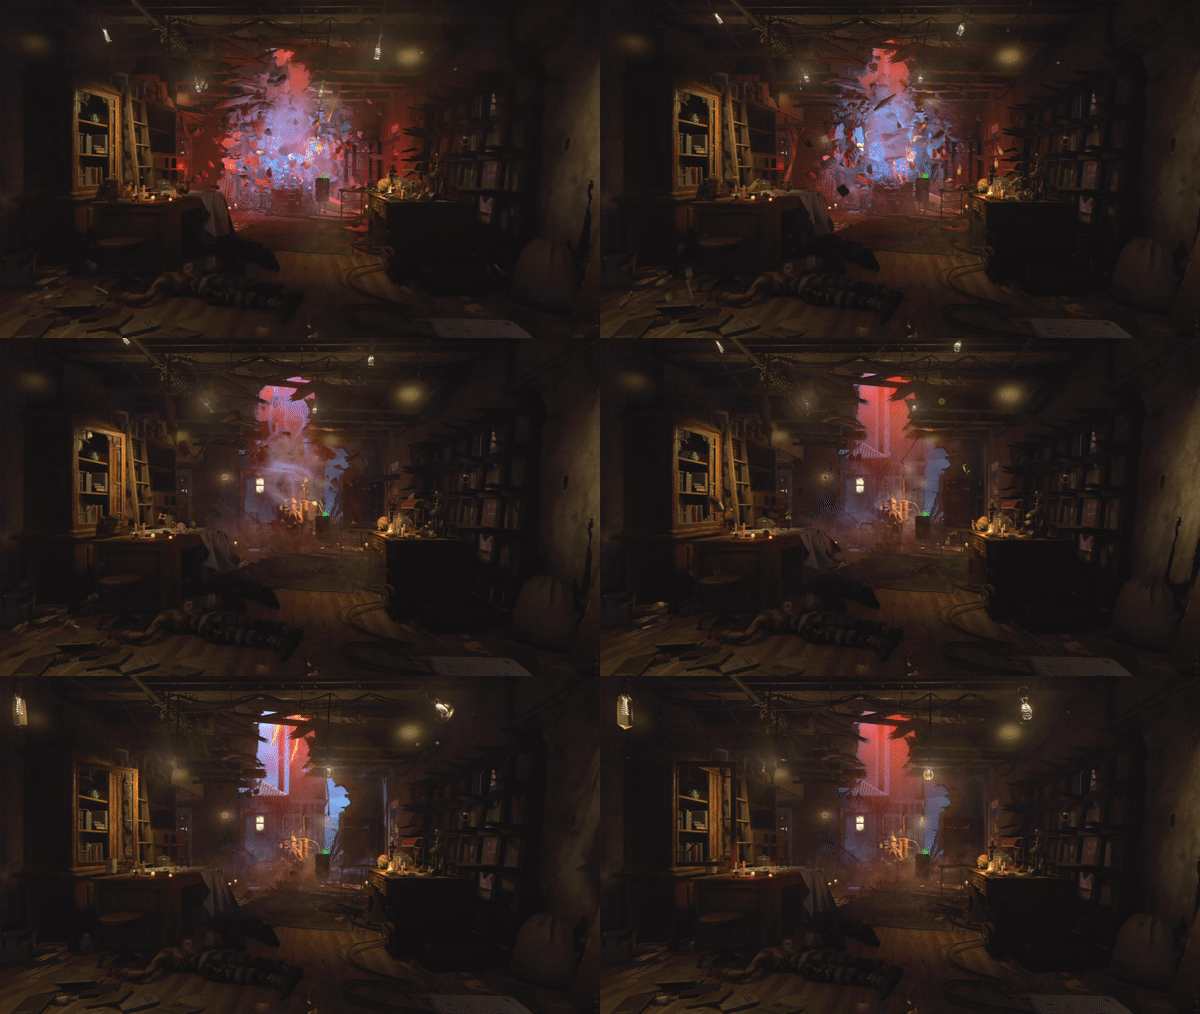
Obtain the Spoon (or Golden Spork) Melee Weapon. After doing so, go to the Warden's House and melee the wall across from the zombie barrier and Titan Wallbuy with the Silver Spoon / Golden Spork to scratch the wallpaper. (Optimally, you could melee the wall with the Silver Spoon then focus on upgrading it to the Golden Spork while waiting for Round 17 if you don't start early using Monkey Bombs, see below.) Make the Warden use his Slam attack in front of the now scratched wall, either naturally starting on Round 17 or sooner by having him interact with a Monkey Bomb in front of the wall. (You can obtain a Monkey Bombs either through the Mystery Box or completing the Monkey Bomb Statue ritual in Cell Block, but they will replace your Hell's Retriever.) Interact with the electronic switch inside the Warden's Ritual Room and watch as the Warden's corpse becomes revealed, dead on an electric chair. Take the small, glowing red orb on the table to the left of the Warden's body.
-
Too bad this story wont be realized anymore...it even somehow made the creation/dissolation of fractures seem epic, as Peter sorta fell right into it and then spitted out of it. But yeah, upon reading the radios about Peter and Pernell, one of my first thoughts went to the storybook. Peter saying all those 'yes sir's', like a real obeying soldier, and Pernell being power hungry instead of a clumsy helper of Peter and new member of the CIA... Thanks for sharing anyway, and the idea for a seperate 'side'-story of a person sometimes popping up in several books is good.
-
Ah, I see. You know, I only see 27 chapters on my mobile device, so I was wondering already how you could put so much intel in only 4 chapters more. But 46 must be enough haha
-
Epic one, this one's so much different than any chapter before. I guess Alone is a real fitting name, as we follow the little-speaking, suffering Nikolai here, without any real conversation. It sketches a realistic idea about the war: grey, cold, pain, loneliness. Oh and by the way, the part with those two boys, I just knew he would shoot them. It is awful, and I dont want him to but it fits well in the change Nikolai has made (also got that carpenter reference in the beginning :)). Its all bitterness now. Another question: Are the seeable chapters on the teleportation menu the only Book1 chapters coming, or will there come more?
-
With the upcoming continuation of our beloved story, let's not forget about the disgusting treatment of human beings at the Treyarch facility, the place where workers are mentally broken. Treyarch's money and our joy are at the cost of their lives. The gaming industry must change: https://kotaku.com/the-human-cost-of-call-of-duty-black-ops-4-1835859016
(And that while, ironically, CoD Zombies was the cause of an open-minded and creative individual not only doing what his boss told him but also putting his free will and time into developing this 'bonus mode')
-
I like this chapter alot! I like the tons of references to other events (past and future). And that end of the test! It is as horrific as unexpected, and I totally pictured it like a movie in my head. You really surprised me with this, and I'm curious how this thing will pack out. Well done!
-
I havent had such a severe hangover for a long time, so glad to have my ultimate medicine ? Looks like the Fall of Richthofen has began. So cool to see you've used the MPD sacrificial event as his mental turning point. I also like the way how he lost the voices for a moment prior chapter, followed by the realization that he would never get rid of them, now causing him to slowly turning more insane. Like he gave up. Good building up towards this!
-
That moment the voices were gone....and later came back.... I can feel Richthofen's emotion on that moment. I felt it down my stomach: Its a real torture, rather than a gift
-
An enjoyable thing to do on a hangover day. I'm curious to Peter's story, as very little of it is known (which, I can imagine, makes it only more fun to write about). Chapter 18 has a great play on the characters! In the early chapters, Groph was always a bit the 'black sheep' member, underrespected by Richthofen and Schuster, but his character has made a major change. Schuster slowly starts to realize he is surrounded by insanity and I can actually relate a lot to him. Richthofen....his character is still your masterpiece. An interesting past: idealistic and good as well as insane and mercyless.
-
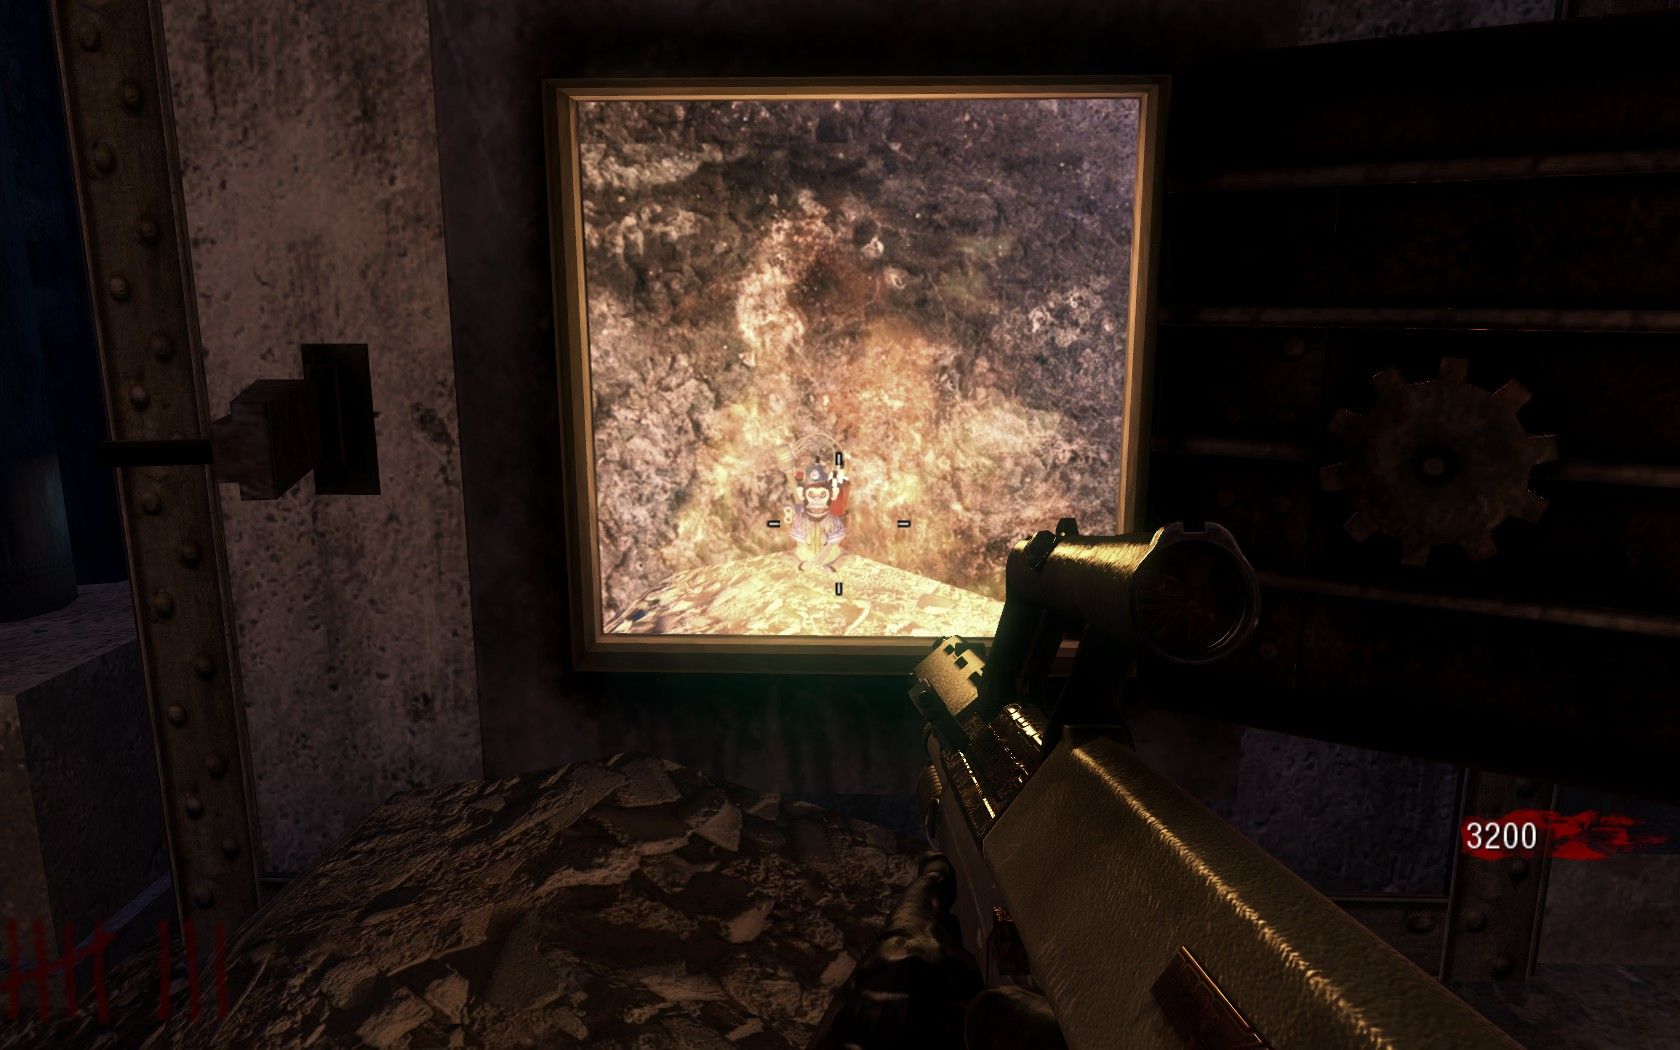
Now you will have to locate three items around the map and shoot them with any weapon. Every time you shoot one Samantha will confirm this by saying something. The locations of the items are: A Teddy Bear holding a Bowie Knife: Above the M1A1 Carbine wallbuy on a window high up the building overlooking the Courtyard A Monkey Bomb holding a Stielhandgranate and a Molotov Cocktail: In the open furnace in the Furnace Room, near the Thompson wallbuy A Teddy Bear holding a Juggernog bottle and an upgraded M1911: In a cage in the Animal Labs, next to the M1897 Trench Gun wallbuy. After shooting the final one, the Main Quest is done and Samantha will scream: "You win... GAME OVER!". In World at War, the player will be awarded with the trophy or achievement 'Elevate Your Senses'.
-
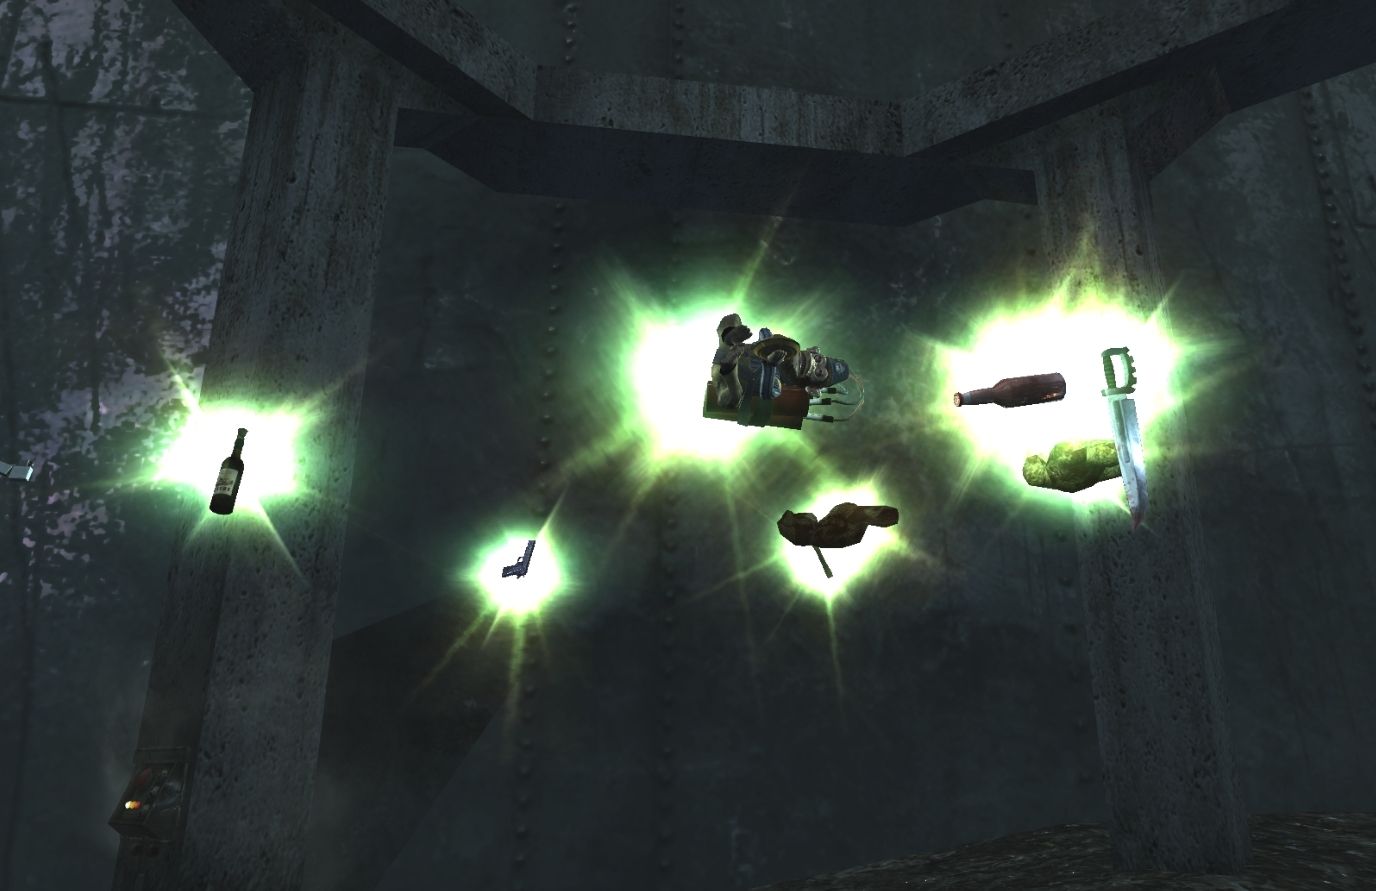
To do this step, the player must obtain a Pack-a-Punched weapon. Now, you have to go the alleyway in the direction of the animal labs, outside at the M1 Carbine wall-buy location. Look outside the barrier: Far in the distance you will notice a control panel on a pillar. Shoot it with your upgraded weapon or throw a grenade at it. If done correctly, you should hear Samantha say: Several items around the pillar will be emit a green glow and start to fly up in the sky and disappear.
ABOUT US
Call of Duty Zombies (CODZ) is a fan-managed gaming community centered around the popular Call of Duty franchise with central focus on the Zombies mode. Created in 2009, CoDZ is the ultimate platform for discussing Zombies theories, strategies, and connecting players.
Activision, Call of Duty, Call of Duty: Black Ops titles, Call of Duty: Infinite Warfare titles, Call of Duty: WWII are trademarks of Activision Publishing, Inc.
We are not affiliated with Activision nor its developers Treyarch, Sledgehammer, or Infinity Ward.
PARTNERS & AFFILIATES
Interested in becoming an affiliate/partner or looking for business opportunities? Shoot us an email at [email protected] to join the CODZ family. While you're here, show our partners some love!
SITE LINKS
Our most popular pages made convenient for easier navigating. More pages can be found in the navigation menu at the top of the site.
