

Hells Warrrior
-
Posts
4,117 -
Joined
-
Last visited
-
Days Won
81
Content Type
Profiles
News & Announcements
Zombies Library
Easter Egg Guides
Intel
Forums
Everything posted by Hells Warrrior
-
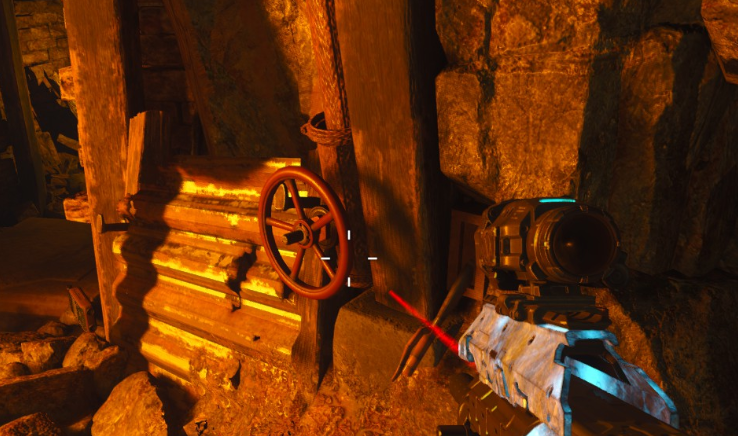 Activate the eclipse. Go to the tunnel, which contains a statue needed to open PaP, near the Pharo. A valve is located in it, you will have to interact with it 4 times to turn it. You must now lure a napalm zombie into three gas leaks in the basements. They are located at the following locations: 1) Next to the valve you just turned 2) Next to the geyser 3) Before the room with the power generators Once done, go back to the valve. There is a lever besides it, push it down to complete the step.
 -
 Head back to the waterfall, near the water slide. There is on top of it, a crystal which you need to take down with an explosion. (Grenade, Ray gun, and so forth). Once it's down, shrink it with the 31-79 JGb 215. Then, knife it and follow it until it sticks itself in the geyser leading to the spawn. Activate it (by simply standing on it), to project the crystal on a tower, completing the step.
 -
 After compelting the stone slabs, head back to the man and he will explain that he is stuck under something. You must be in Eclipse Mode and go back to where (Random Perk Machine) is and all 4 people slide down the waterslide. Everybody must stand still where they landed in the water. If NOBODY MOVES OFF the pressure plate for 15-30 seconds, it will go back to regular game mode. NOTE: You know if you did this succesfully if it goes back to day time FASTER than normally.
 -
 After the man is finished talking you will see stone slabs appear out of the ground in various locations surrounding this statue, also found by the bridge on the other side of the spawn. Each slab has a symbol carved/engraved on them. Match them up on both sides and then go back to the statue when you are done and he talks about being trapped between something. Each tile from a side is paired with a tile from the other side. The objective is that two players stand on a pair to make it disappear. One player find a tile, and wait that the other player find it. While waiting, don't stand on the tile, as if two players are standing on different tiles the step will need to be restarted. NOTE: If you get a bad match, they will reset.
 -
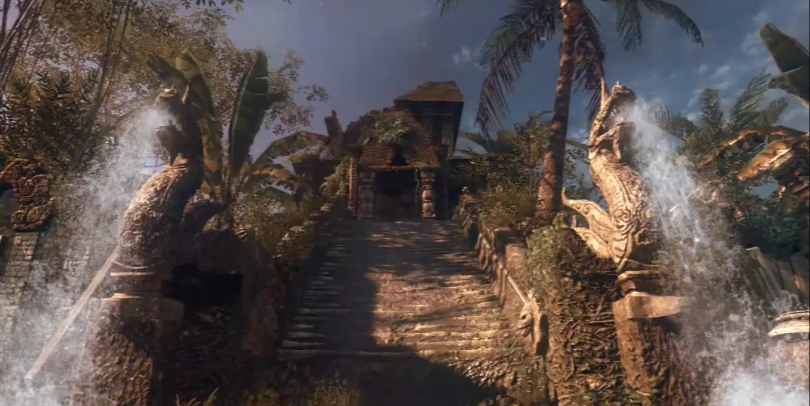 After doing the Eclipse you have a limited time. If you are running out of time, you can activate the Eclipse next round again. Run over to the M14's debris that blocks you to the next portion of the map, Go through the spikes and go right down the small hill and to the entrance of the cave there. Now stop and turn around. You will see a giant statue of a man and another one of the same buttons that activated the Eclipse, interact with him by pressing action button and he will talk.
 -
 Two players need to go to two different street lights with their turbines (you can remove and re-use the turbines from the tower if you only have two players). Place the turbines next to a street light, and you have completed the Easter Egg. You may need to go to two specific street lights (Usually at Dinner and the Busdepot).
 -
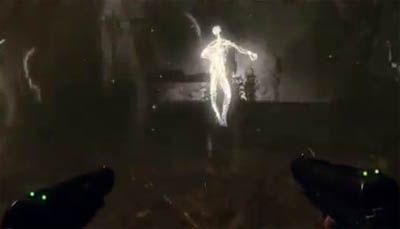 Now you have to kill "Him", or the Electric Man, under the tower in the cornfield. Once he shows up, place two turbines near the tower and kill him with an EMP grenade or the Galvaknuckles. Maxis will say you need more power if done correctly. Hint: It is advised to wait at a regular busstop until the Electric Man appears, and then head for the Tower, as it can take some rounds before he shows up.
 -
 To continue in Maxis' behalf, turn off the power at the Power Station. This will re-establish his communication through the electronic devices. So after you have turned on the power, you have to turn it off again.
 -
 If you are with four players, every player must throw an EMP grenade at the same time at a portal. You can construct portals by getting a Denizen on your head, and then walk under an activated lantern. So throw four EMP's at four different portals and you have completed the Easter Egg. You can also finish the Easter Egg with two players. First, make portals under every lantern post across the map. Next, both players must toss the EMP at the portal, then immediately jump into it and toss your last EMP right at the streetlight you just teleported near. This way, you have thrown four EMP's at four different portals as well, but now with just two players.
 -
 Now head for the big tower in the cornfield and use the Thrustodyne Aeronautics Model 23 on the Navcard Machine untill the Element 115 rock is heated up. After a while, Richtofen will say he needs 115 from the zombies. Now start to kill zombies under the Electricity Tower. Richtofen will say he needs a large group of zombies and you have to continue the slaughter. After some time (+/- 30 zombies), Richtofen will say that there is too much power, and you need to decrease the power by four.
 -
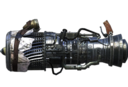 The Thrustodyne Aeronautics Model 23, also known as Jetgun, can be built on the workbench in the Town. All four of it's parts are scattered through the entire map. Being limited to carry merely one part at a time, the player has to add a certain part on the workbench every time a part has been picked up. The locations of the parts are the following: 1) The Jet Engine part can be found in the tunnel between the Busdepot and Diner. Near the first window on the left. Beside a car near the railing of the M16 Wallbuy. Between the first window on the right and the M16 Wallbuy. Between the cars to the left as you enter the encampment. 2) The wires part can be found in the second (lava) area of the Power Plant, near Tombstone. On the lower floor near the collapsed cat walk on the electric box. On the lower floor near the collapsed bridge on the ground. Near the Tombstone Soda machine. On the lower floor in the small room with the window on a barrel. 3) The handbrake part can be found in Nacht der Untoten (the Prototype) behind the corn fields. It is a pretty obscure part, so look well. Near the lamp In one of the cabinets On the stairway, on the right side behind the desk 4) The pressure gauge part can be found in the Hunter's Cabin between the Power Plant and Town: Near the fireplace On the bed near the backdoor
 -
 The next step is to turn on the power. The Power Lab is the fourth bus stop in Tranzit. To access the power lab, enter through the shed to build the power switch. You require three parts to build the switch all located within the power lab. The parts required are A power board The power switch lever A severed zombie hand You can built the power switch here Once the power is on "Him" will be appear from the middle of the power room. After a short while, Maxis will speak over an intercom. Richtofen will speak only to Samuel.
 -
 You need to use the Mystery Box until one player obtains the EMP Grenades. If you decide to take Richtofen's instructions for The Tower of Babble Easter Egg, all four players will need to get EMP Grenades from the box.
 -
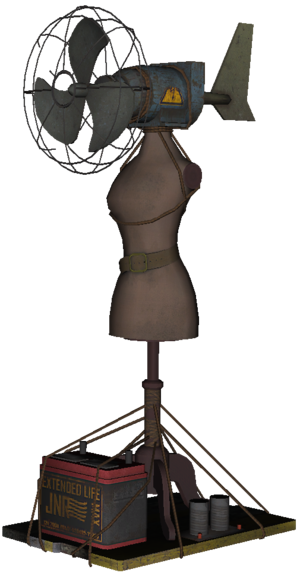 The turbine is built at the Bus Depot. You'll need the following pieces, which are found in the starting room at the bus depot. A fan A mannequin body A tail fin Once built, have all players grab a turbine from the workbench. It's a good idea to have a look around outside, you need to pick up two items at the bus depot, you'll need them later. The meteor, found in the hole in the wall at the front of the bus depot The nav card reader, found around the back of the bus depot. When you travel from the bus depot, to the gas station, through the tunnel, you should look for a plank of wood. Now, these parts depend on whose side your taking in the Easter Egg, Maxis or Richtofen? It is advisable to make the decision before the game starts and decide which path to take. So have a look at our side quests, on how to build and find the relevant parts.
 -
Some nice changes to the site recently, speed bing the biggest thing I would say. We have introduced social promotion/our picks which is visible at the top of the forum and looking at other things. Great to be back again and getting involved. Still not opened BOIIII, still in it's packagin lol
-
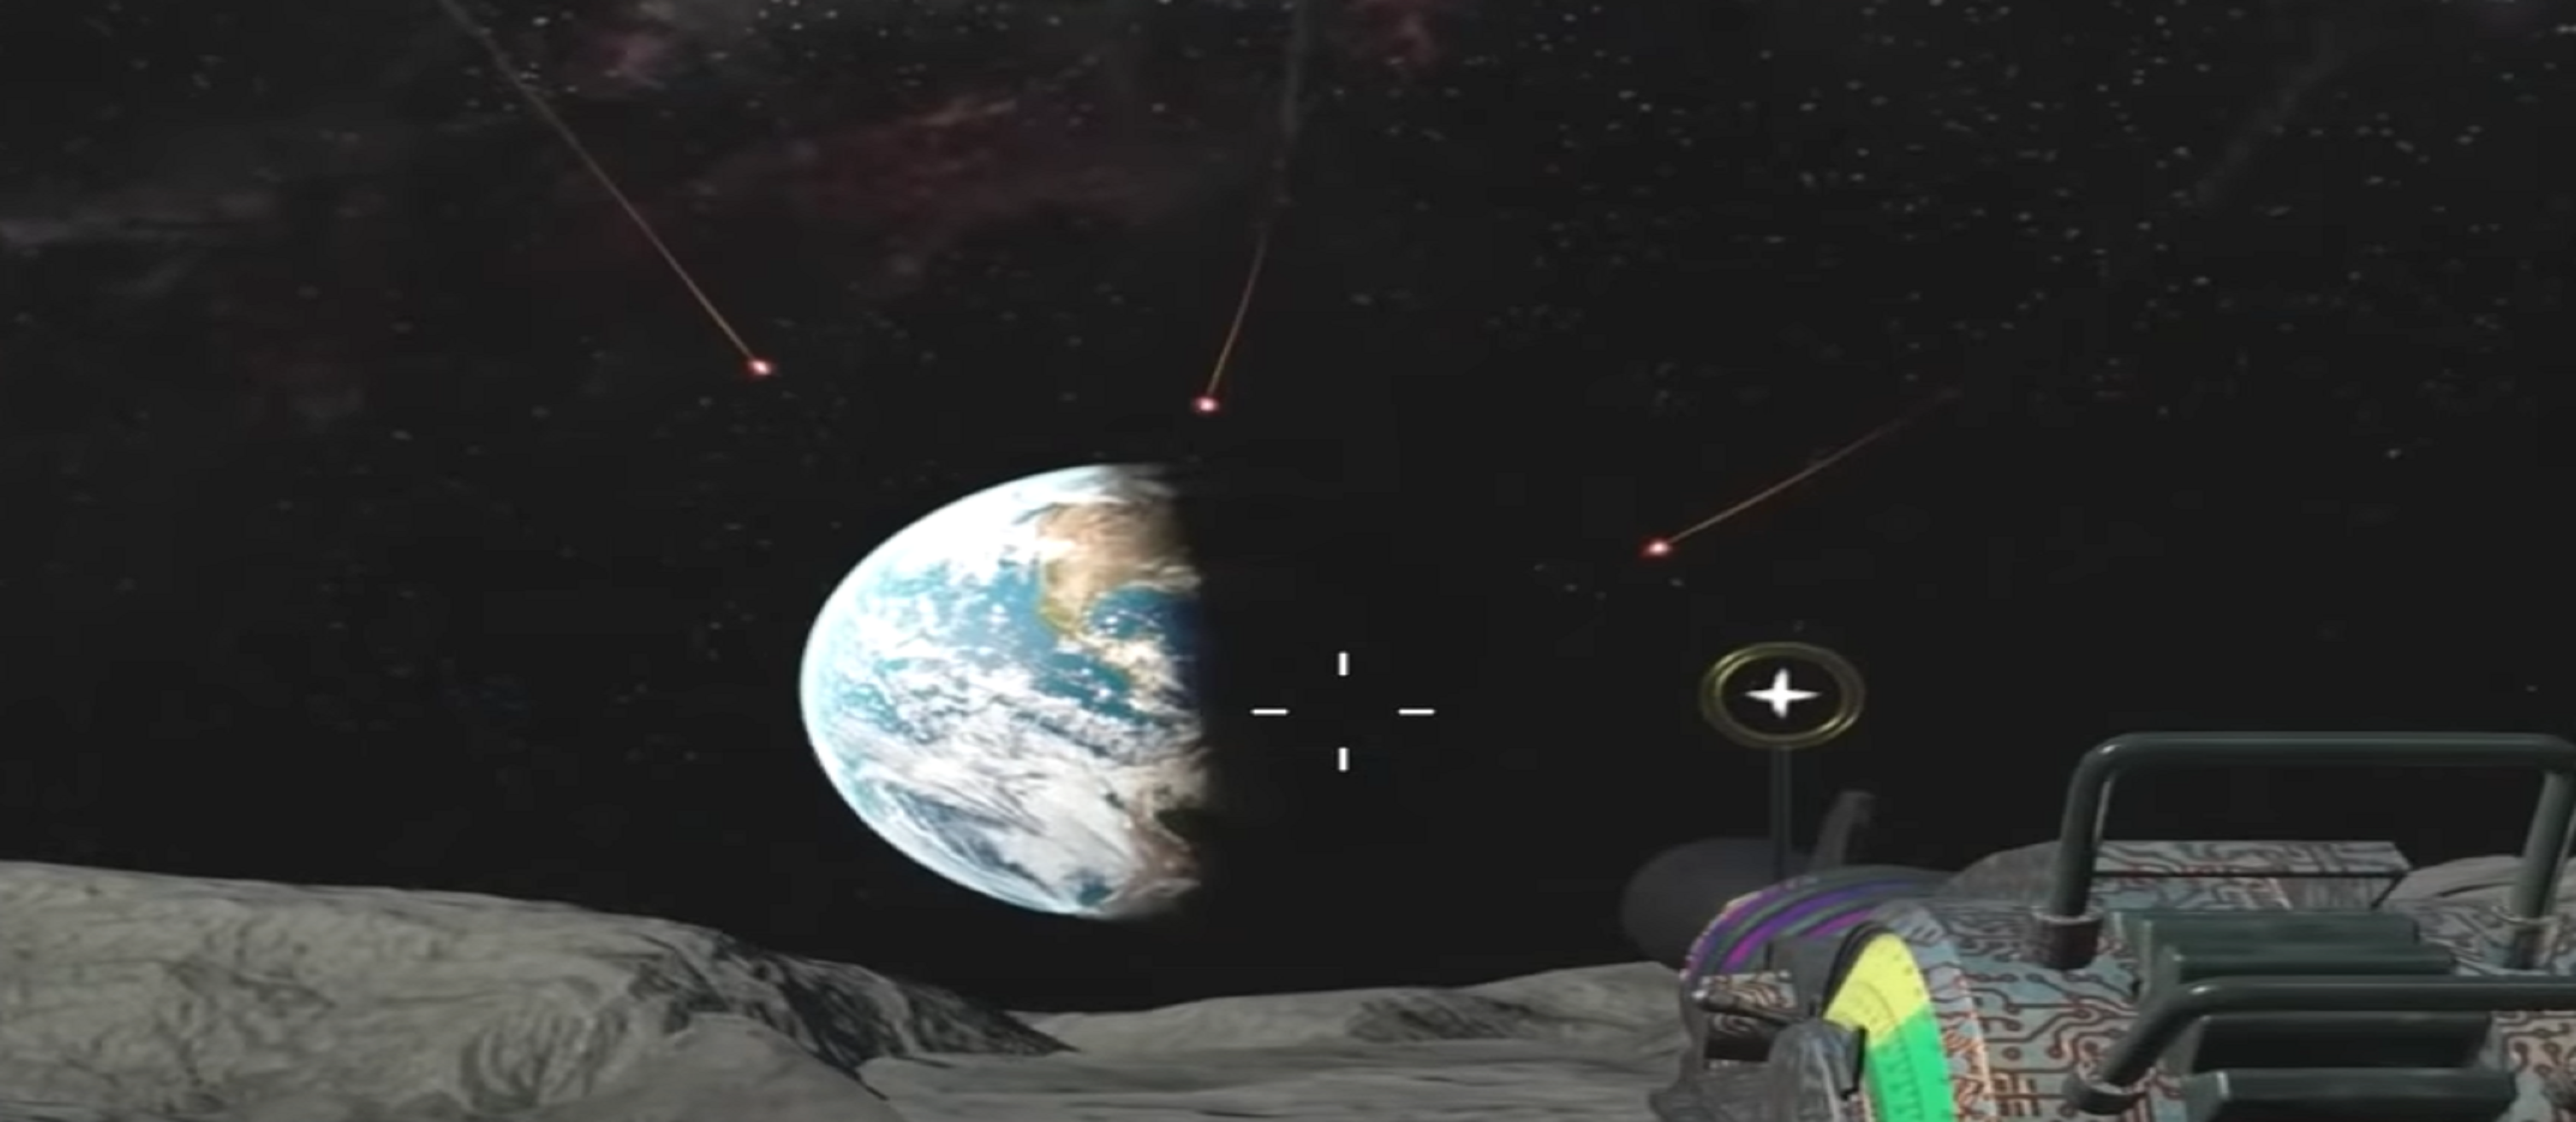 Some dialogue will occur, followed by a countdown. The three rockets will be launched, obliterating the Earth. All players receive permanent perks, and you will gain the achievement/trophy, "Big Bang Theory". Congratulations, you have now completed the Moon Main Quest!
 -
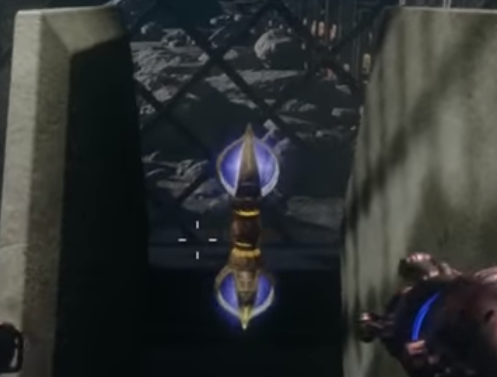
 A QED must be thrown at the Black Egg in order to detach it from the MPD. In doing this, the Black Egg will be transported next to the four Simon Says terminals. As with Step 1, you will be obligated to complete games of Simon Says - now with greater difficulty. After completing one game of Simon Says, a Rocket will be raised up from the trench. This must be done two more times, to raise the other two Rockets. Once all the Rockets have risen, throw a Gersch Device at the Black Egg. Proceed to Step 10.
 -

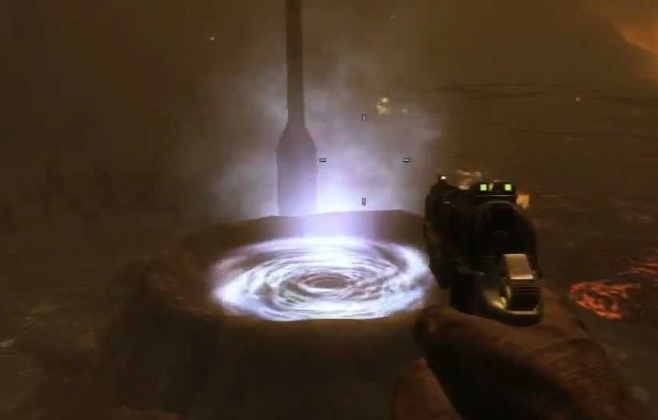
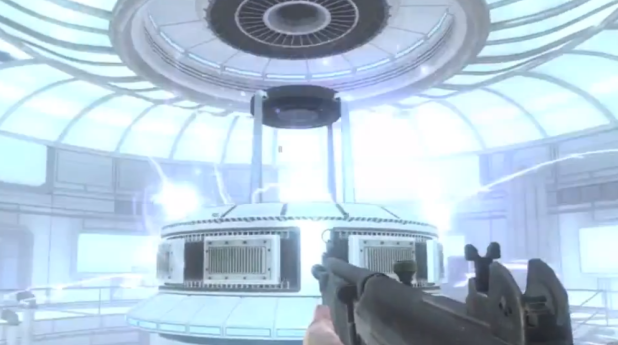
 In arriving at the Pyramid, four tubes will rise from each corner of it. 25 Zombies must be killed to fill each tube - totaling 100 Zombies. During this, Samantha will scream and the map will shake a great many times. When all four tubes have been filled with souls, interact with the Mythos Disc (X, Square, or "F") to place the Golden Rod into the device. After this, Richtofen and Samantha will switch souls, changing the Demonic Announcer to Richtofen and giving this player all perks permanently. Proceed to Step 9.
 -
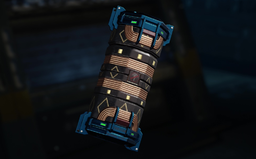
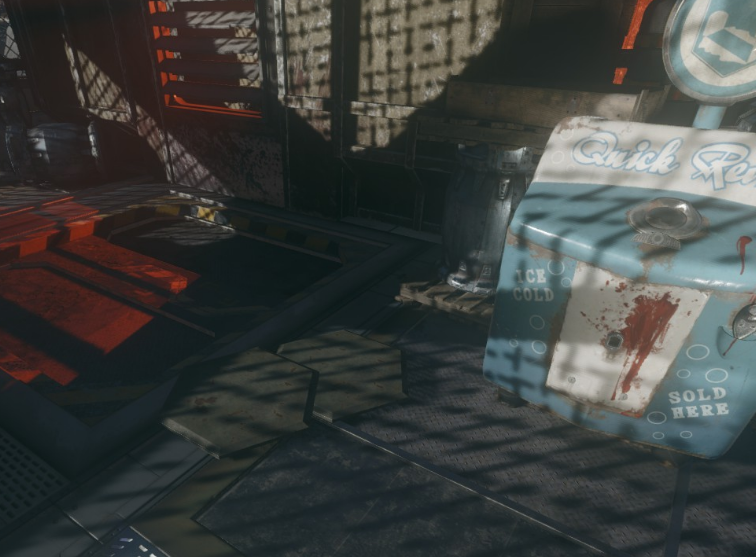 Once you have teleported back to Griffin Station, the Casimir Plates can be found lying on the floor in front of Quick Revive. Use a QED to move them to the computer in the opposite corner of the room. After the Plates land in the computer, you will need to find a large, S-shaped wire, which will be used to finish assembling the charging station. Now, typically, the Wire will spawn in the laboratory - on the stairs up to Deadshot, under desks, etc., but it also can spawn in Tunnel 6, outside near the Mystery Box location, amid a few other places. When found, head back to the computer in the Receiving Bay. Hold the action button (X, square, "F") to place the Wire between the computer terminal and the plate mounts. The player in the role of Richtofen must place the "Golden Rod" between the Casimir plates. [NOTE: In Black Ops 1, it was required that players completed the Shangri-La and Call of the Dead main quests, in order to have both the Focusing Stone and Golden Rod in Moon. In Black Ops 3, the player who is Richtofen starts with these items in his inventory. from the get-go. As such, the same recommendations lie dependent on whichever version you find yourself playing.] The player playing as Richtofen must then stand in front of the computer terminal, and using the action button, cycle through several lines of audio between him and the computer system. Keep pressing the action button until the dialogue ends and the screen on the computer turns green. After this, grab your newly charged Golden Rod. Proceed to Step 8.
 -
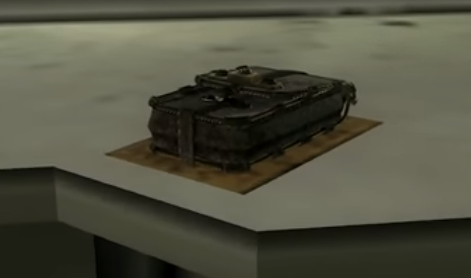
 Teleport back to Area 51 and, to the right of the teleporter pad (outside of the playable area) will be a shelf with several plates of there. A grenade must be thrown to knock off these plates. After this, a Gersch Device must be thrown at the plates to move them onto the teleporter pad. IMPORTANT: The Gersch Device must land on or right beside the Casimir Plates. If the throw is not accurate, Samantha will laugh and take the device. Use the teleporter to return to Griffin Station. Proceed to Step 7.
 -
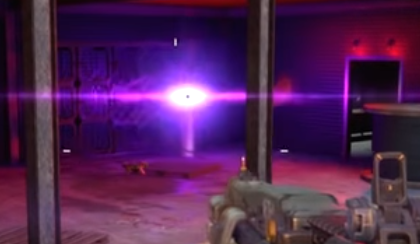
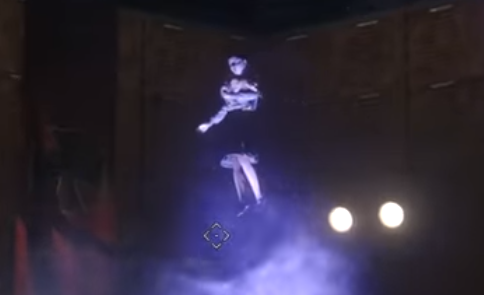 After the "Black Egg" lodges itself within the Pyramid, a tube will emerge from the right side of the pyramid. Fill this tube with 25 zombie souls, staying in vicinity of the tube, so as to let it collect said souls. Once the canister is filled, flip the switch on the wall to the right of the tube (or, left, if you're facing towards the power switch). In doing this, the pyramid will open to reveal Samantha, her body frozen and hovering in place - meanwhile, you will then be gifted a 90-second Death Machine power-up. It is at this moment that you'll net the achievement/trophy "Cryogenic Slumber Party", thereby completing Part 1 of the Main Quest. Congratulations! Proceed to Step 6 if you wish to complete Big Bang Theory.
 -
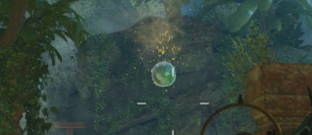
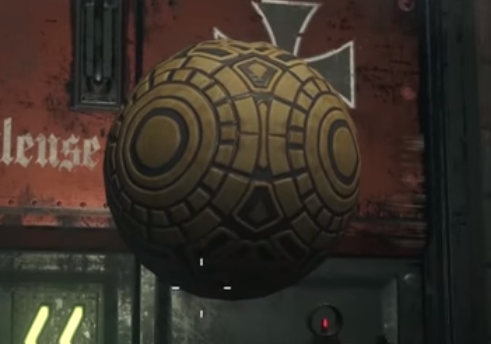 [NOTE: Steps within this Main Quest can be completed before others. However, it is recommended that you do the first two before this one, otherwise the Black Egg might lodge itself out of the Pyramid, locking you out of quest completion.] After the excavation of Tunnel 6, a mysterious sphere ("Black Egg") will have appeared near the M16 wallbuy. The sphere must be knifed/shot in order to begin moving it. It will bounce around Tunnel 6 multiple times, sometimes getting stuck on a wall or ceiling, required to be knifed/shot again to continue moving. Eventually, it will reach an area above two barrels, close to the MPL wallbuy - after which, it will patiently wait for you at the door to leave Tunnel 6. Once outside, the egg will float up to a satellite dish above the Receiving Bay. In order to dislodge the egg, it must be shot with a blast from the Wave Gun - after which, it will float down to Tunnel 11. Within Tunnel 11, it will once again bounce around a few different places, before lodging itself in a somewhat hard-to-spot corner nearby the Semtex wallbuy. Indeed, a Semtex or weapon that deals explosive damage (including the Ray Gun) will dislodge it from this corner. It will then bounce several more times, before heading towards the door leading to the Pyramid, where it will insert itself into the Mythos Disc. Proceed to Step 5.
 -
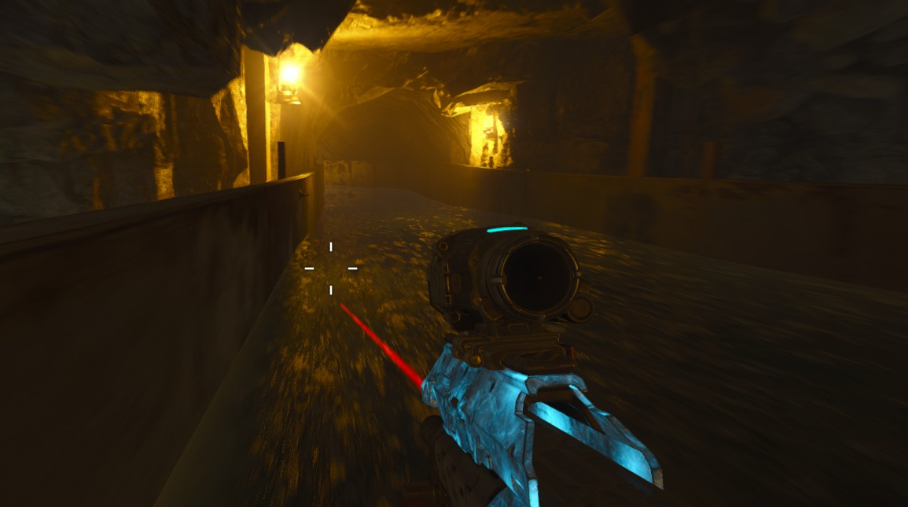
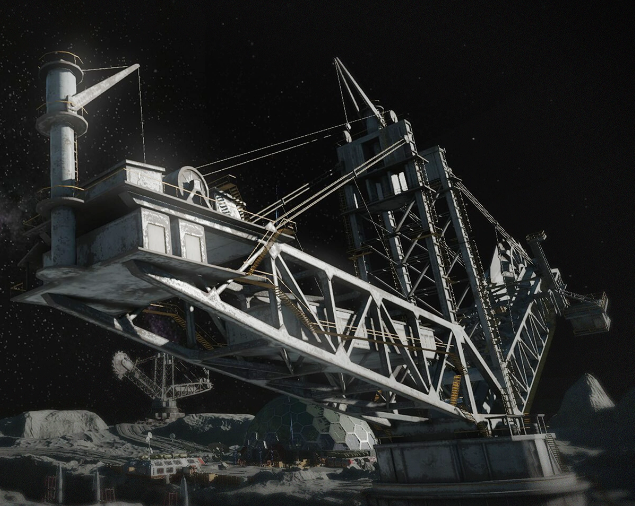 After completing Steps 1 and 2, the players must wait for Excavator Pi to breach Tunnel 6. It should be noted that this can happen at any time in the game, and it is not a guarantee that this will occur after the completion of the first two steps. In fact, it can take many rounds before it happens. When the automated voice notifies you that Excavator Pi will breach Tunnel 6, ignore the alarms until it has been breached. After the tunnel has been fully breached, head for the Retrieving Bay to hack the Excavator's terminal in order to regain access to the tunnel. The Excavator will now go away, making Tunnel 6 accesible again. Proceed to Step 4
 -
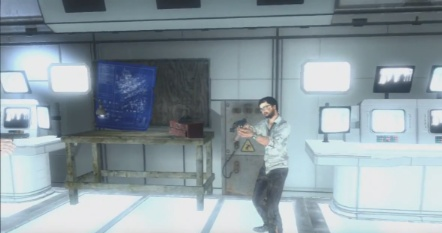
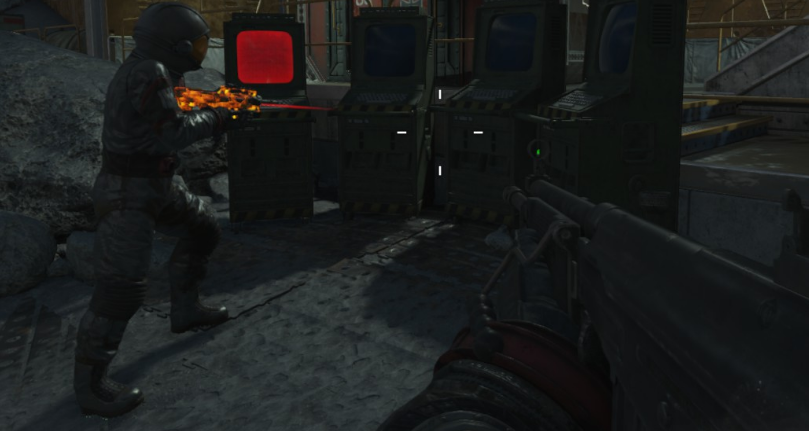
 Once Samantha Says has been completed, make your way to the lab area with all the servers. Obtain the Hacker - which can be located in several locations in the Labs. Use the Hacker on one of these four buttons, along the wall [Note: Hacking this will cost you 500 points.]: After you successfully hack the button, four Terminals will light up green around the labs, like so: The player that has the Hacker will be given 60 seconds to hack all four of the Terminals that are lit. Once they have all been hacked, you need to activate all four of the red buttons on the wall that you started with initially (Note that there is no time limit now, so you can take your time doing so). You must activate all four at the same time, so do this quickly, while running or jumping next to them. Upon completion, the buttons will close, and a high-pitched buzz along with an automated voice will sound. Proceed to Step 3.
 -
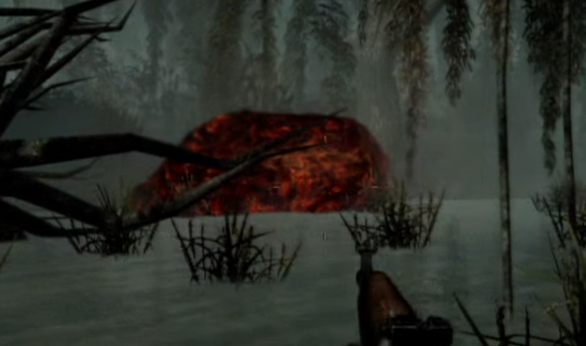 In the storage area, look to the right for the molten rock. This is the meteor that contains Element 115. Shoot at the meteorite to get some dialogue from each character.