After turning on the power, the first step will be acquiring an upgraded bow. You only need one upgraded bow to begin the easter egg, however you will need one of the upgraded bows for each player in the game in a later step, so each player should begin upgrading one. What this means is in Solo, you will only need one bow. With two players, you will need two bows, and so on.
Before you can upgrade a bow, you will need to acquire the original Wrath of the Ancients.
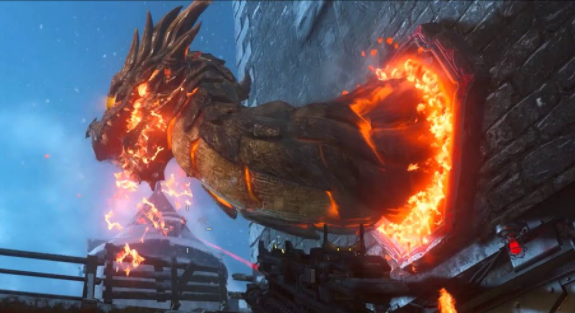
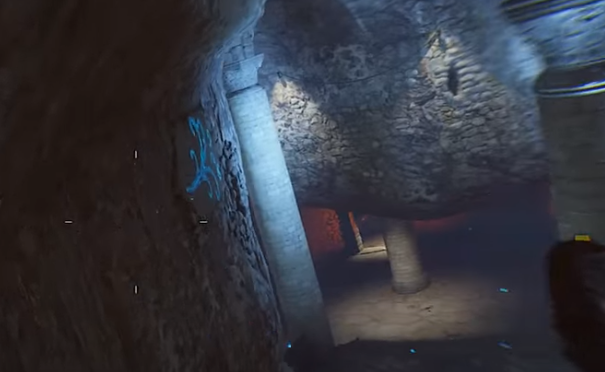
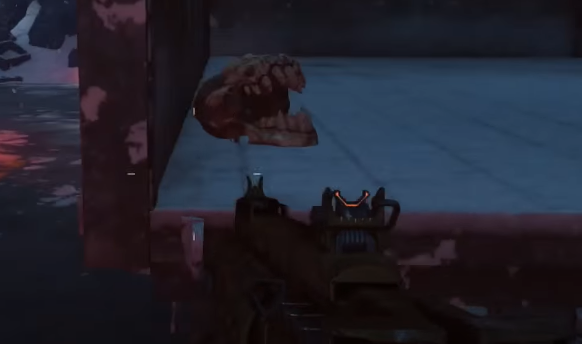
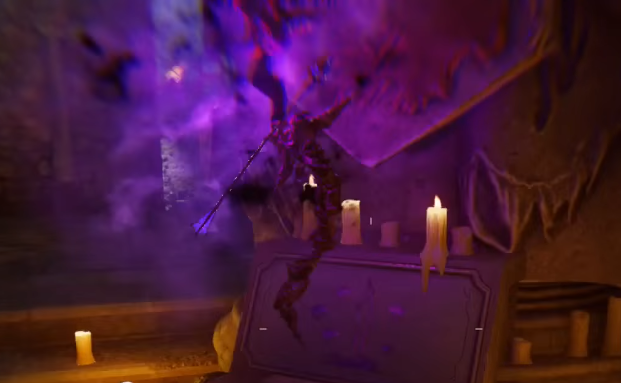
To do this, you must feed six zombies each to three dragon heads around the map. One is near the mystery box spawn just past double tap. One is inside the main castle area where Speed Cola is located. One is in the undercroft next to the pyramid.
After acquiring the Wrath of the Ancients, you craft any of the upgraded bows. There are four bows in total
Here are the steps for each:
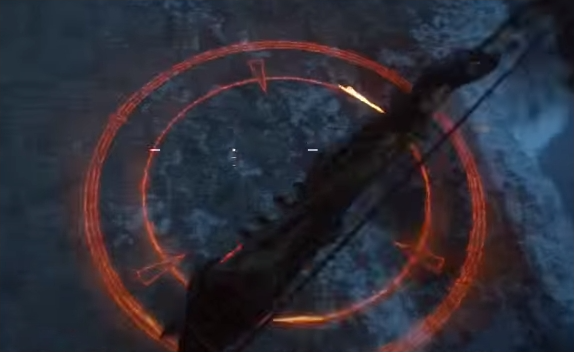
Step 1: Shoot the weather vane above the Bastion with the bow. It will drop an arrow to pick up at the base.
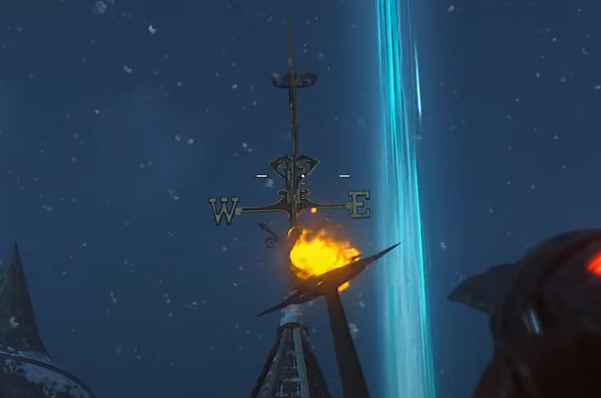

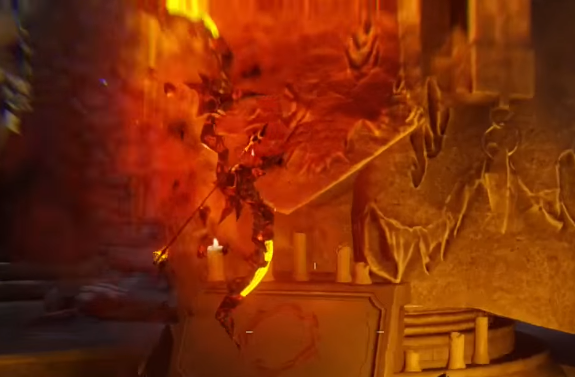
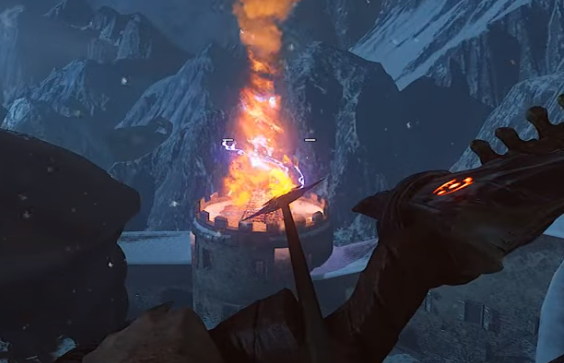
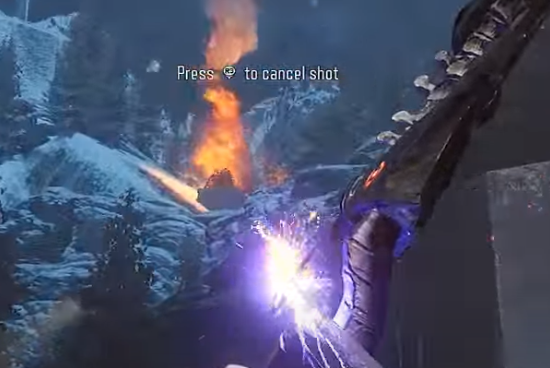
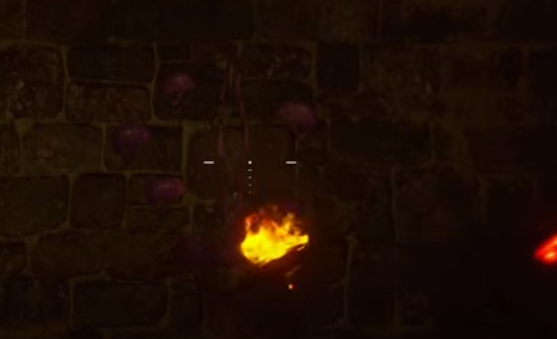
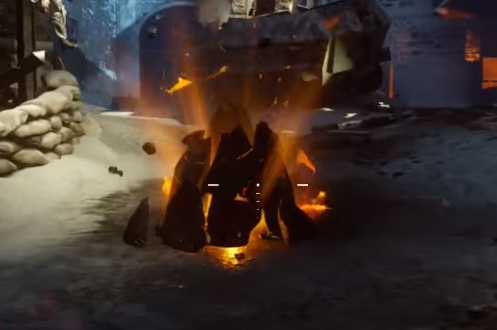
Step 2: You must light three pyres on fire with the bow.
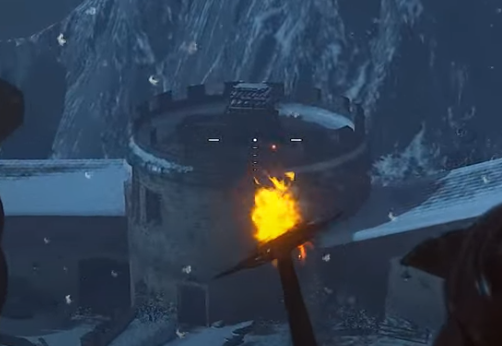
One is located near the bastion behind the clock tower:
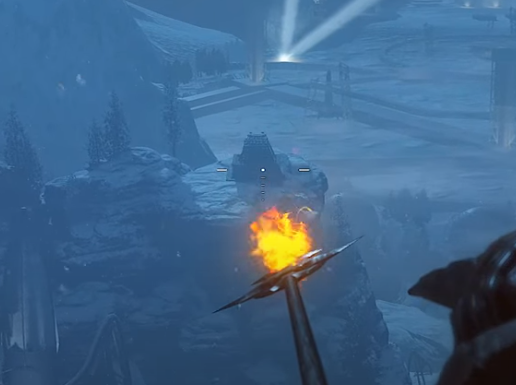
One is located just past the rocket test site and can be shot from the Bastion:
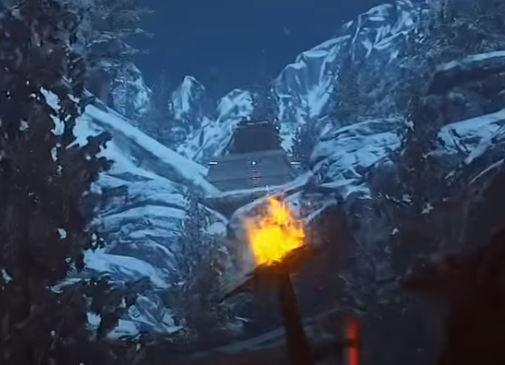
One is visible from the rocket test site looking up the mountain:
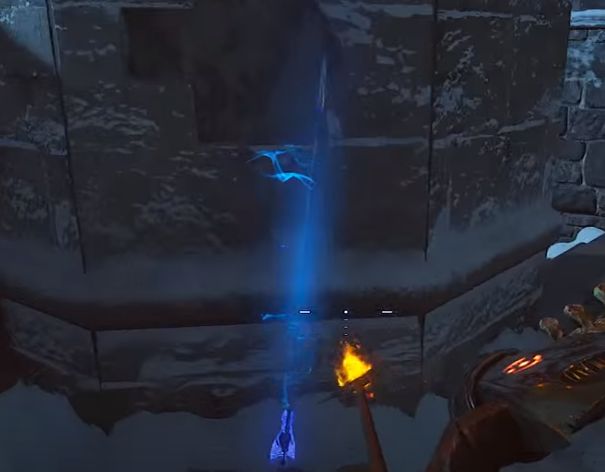
Step 3: Activate low gravity in the undercroft by standing still on four panels surrounding the pyramid. While in low-gravity, wallrun along the walls of the undercroft, passing over several glowing blue wind-like symbols until a progress bar appears in the top right of the screen and none of the symbols are glowing.
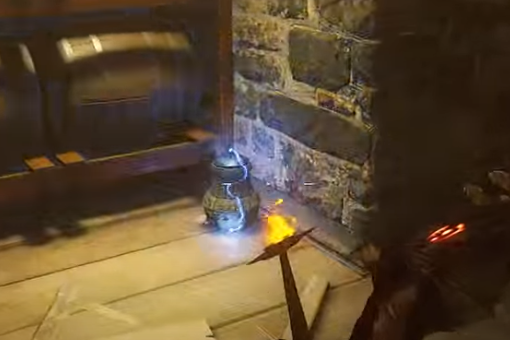
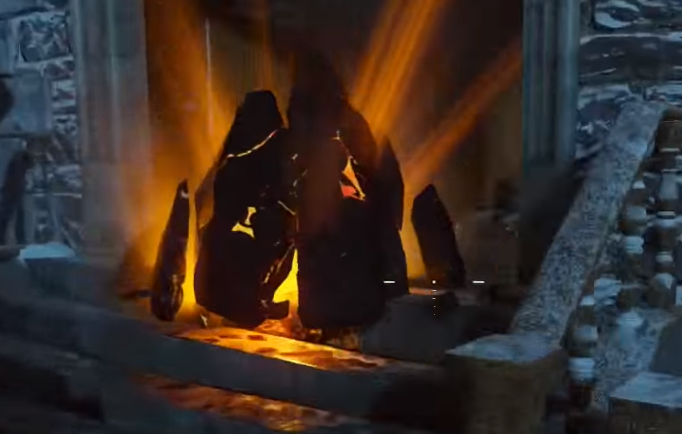
Step 4: You will need to kill zombies near some sparking canisters, then electrify the arrow of your bow and shoot the same pyres you shot before. To electrify your arrow, hold back the arrow as if you are about to fire, then approach the canister and the arrow will be sparking. Then you can attempt to hit the pyres. If done successfully, the fires emitting from them will have lightning.
One canister is inside the clock tower under the stairs.
Use this one to shoot the pyre behind the tower.
One canister is across from the buildable table that is near a Wundersphere.

Use this one to shoot the pyre in the distance past the test site.

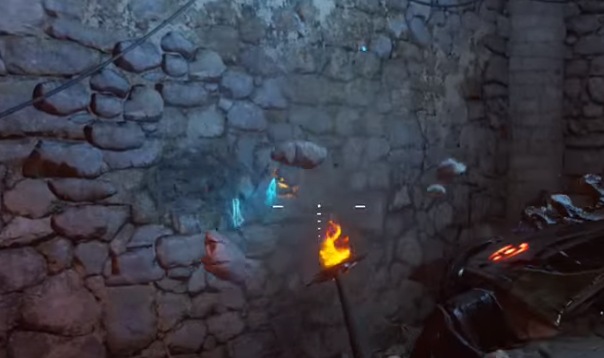
One canister is inside the tunnel at the rocket test site, across from the teleporter.
Use this to shoot the pyre up the mountain.
Step 5: Return to the weather vane and interact where you first picked up the arrow. After it rises to the vane, it will drop as a fixed, glowing arrow. Pick it up.
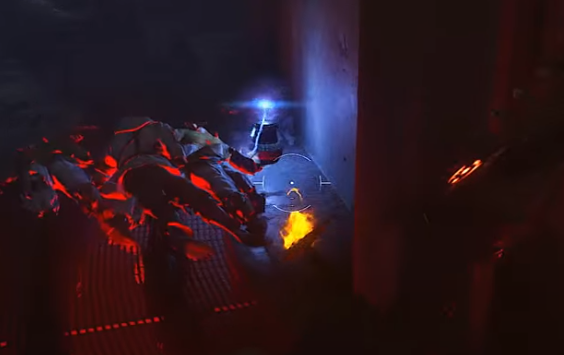
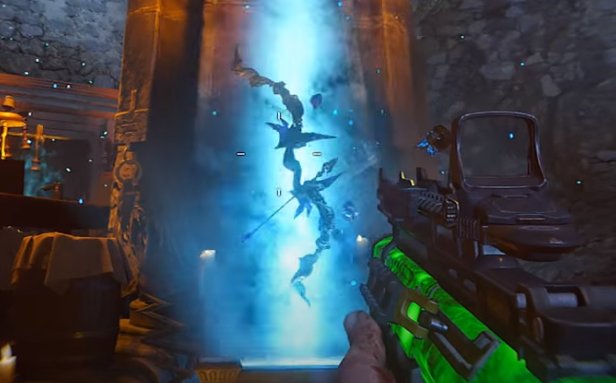
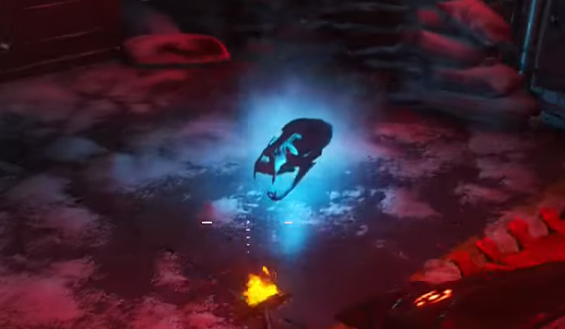
Step 6: Go to the undercroft and interact with the box surrounding the pyramid with a lightning symbol. You will receive a max ammo. Insert your bow into the box, you must kill zombies near the pyramid until the box is charged up.
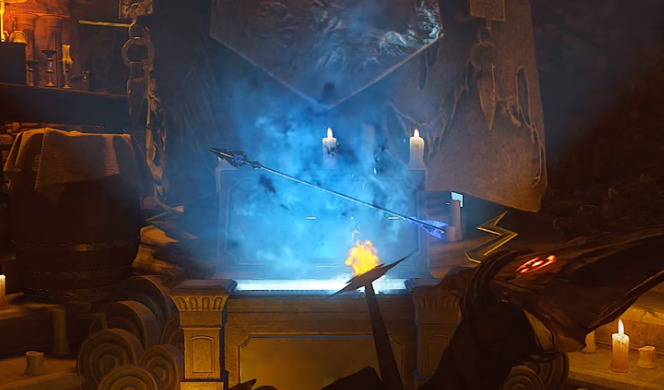
Once no more souls enter the box, you can collect your upgraded bow from the box
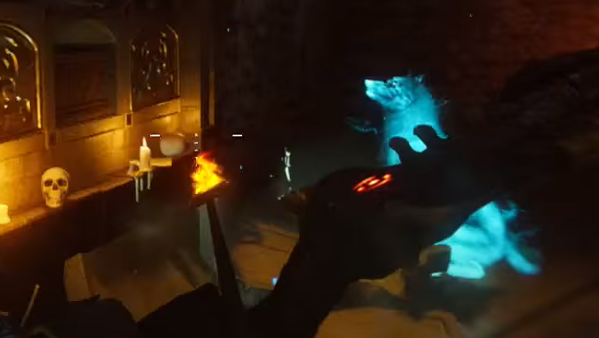
Step 1: You must interact with four paintings around the map in the correct order to reveal a wolf symbol of each one.
One can be found in the hallway connecting Samantha's Room to the Armory, near a barrier.
One can be found in the clock tower.
One can be found in the room underneath the clock tower.

One can be found in on the walkway in the main room of the castle, near the doorway that leads to a staircase down to the courtyard.

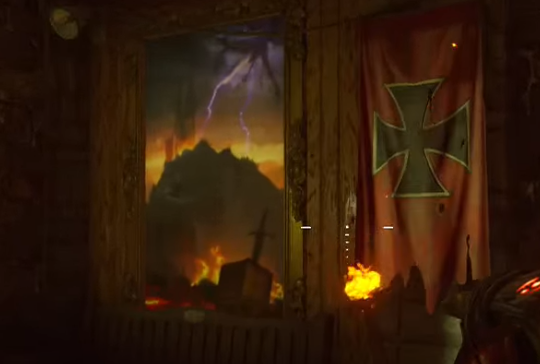
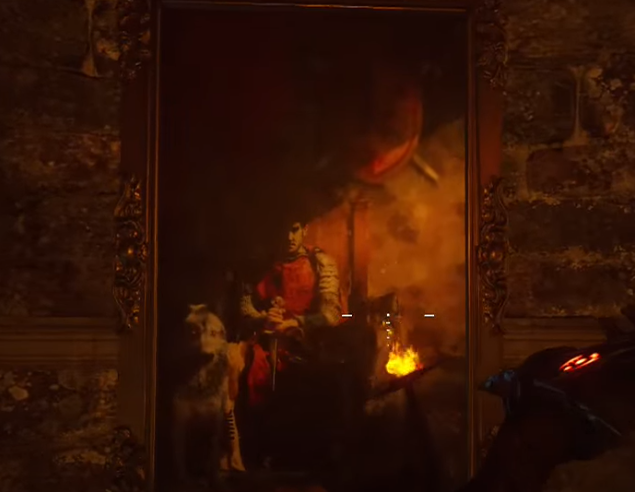
The paintings are randomized each game, however they must be interacted with in the same order: The king on his throne with a wolf, a knight riding a horse, a castle engulfed in flames, and then the King struck by arrows. If done correctly, as you enter the undercroft from the laboratory area, the broken arrow will appear from the wall where there is a wolf symbol. Pick up this broken arrow.
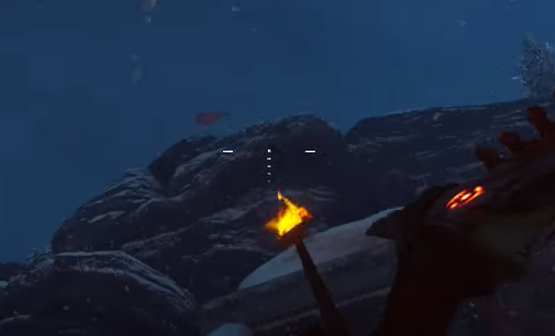
Step 2: Head to the rocket test site, and shoot a red flag up and to the left of the big door. If hit, it will drop a wolf skull which will come tumbling down and you can pick it up.
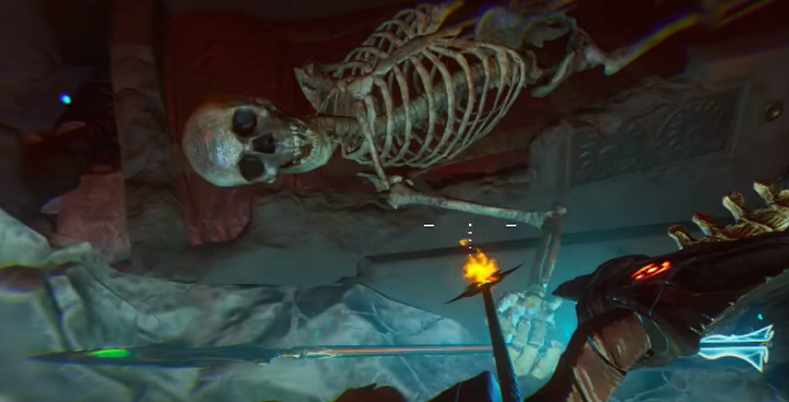
Step 3: Go to the pyramid in the undercroft, and approach the box with a wolf symbol on it. To the right is a wolf skeleton missing its head.

Place the skull on the skeleton, and a ghost wolf will spawn.
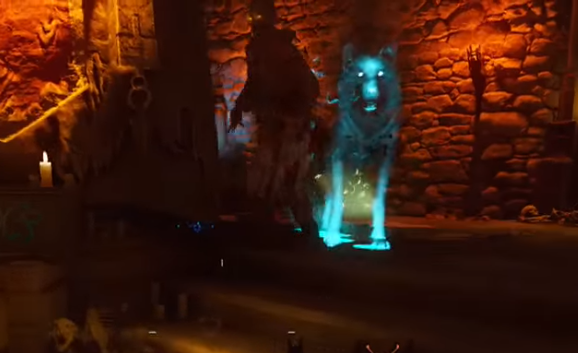
You must follow him around the map, and he will eventually stop and paw at the ground. You must then kill zombies near that location until the wolf digs and the spot is glowing. Pick up the bone from the hole, and the wolf will start moving again.

Keep repeating this process until the wolf ends up in the undercroft and starts pawing at the wall.
Step 4: Activate low gravity in the undercroft by standing still on four panels surrounding the pyramid. While in low-gravity, wallrun along the walls of the undercroft, and while still wallrunning, shoot a set of wolf symbols above where the wolf is pawing the wall.
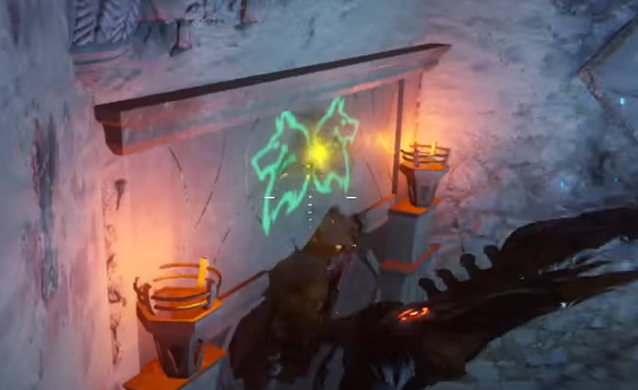
A platform should then form underneath for you to stand on. Interact with the tomb on that platform, and a skeleton will form, and hand you the fixed arrow.
Step 5: Go to the undercroft and interact with the box surrounding the pyramid with the wolf symbol. You will receive a max ammo, and you must kill zombies near the pyramid until the box is charged up. Once no more souls enter the box, you can insert your bow into the box, and it will come back out as the Wolf Bow.
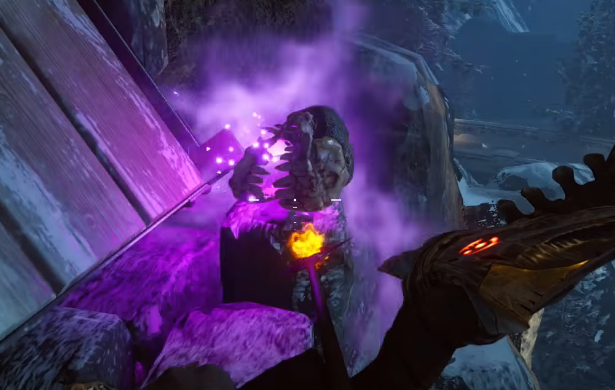
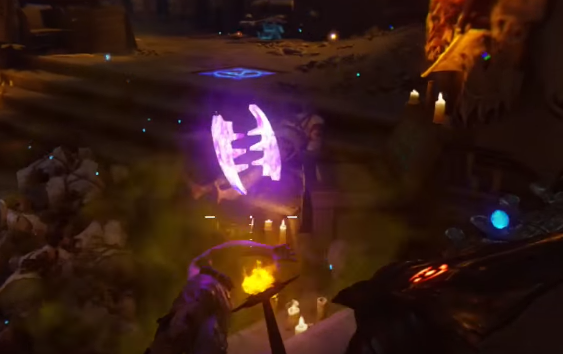
Step 1: Go to the area with Double Tap, next to the gumball machine, and look up. You should see some purple symbols on the wall above the gatehouse with the bow.
It will then drop a broken arrow for you to pick up.
Step 2: In the room below the clock tower, a purple square should appear on the ground. Kill a zombie with a melee kill over this spot and it should break open.
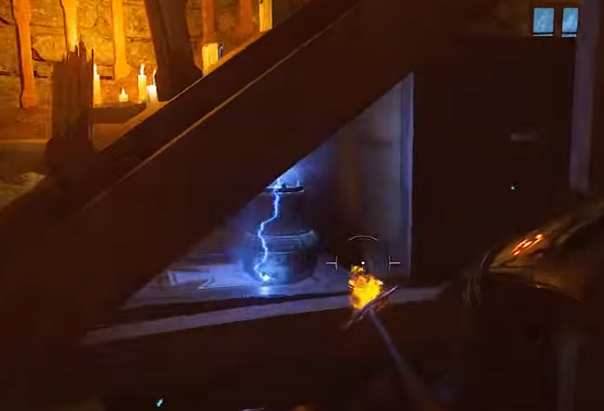
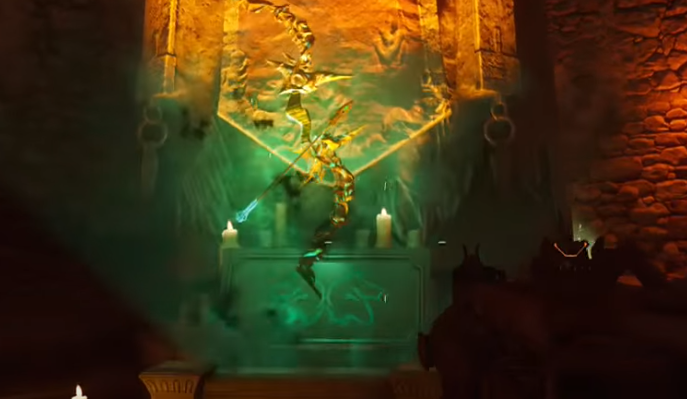
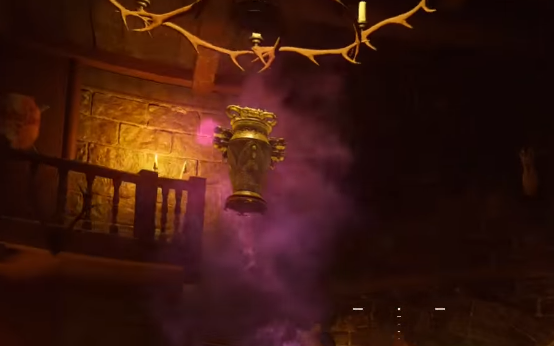
Interact with an urn inside the hole, and it will rise into the air.
Step 3: You must collect six Keeper skulls around the map that will disappear when interacted with.
One is in the tunnel leading to Mule Kick:
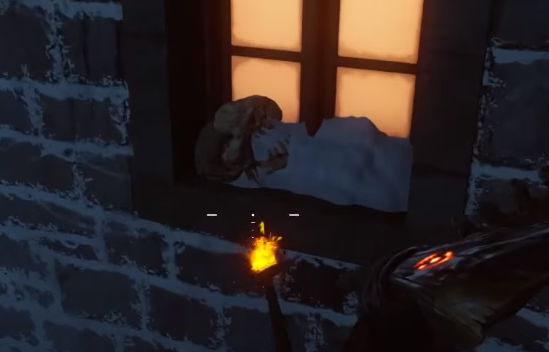
One is on a windowsill up the stairs from the courtyard:
One is in Samantha's Room in a toy chest to the left of her bed:

One is to the right of the broken wall leading to Double Tap:
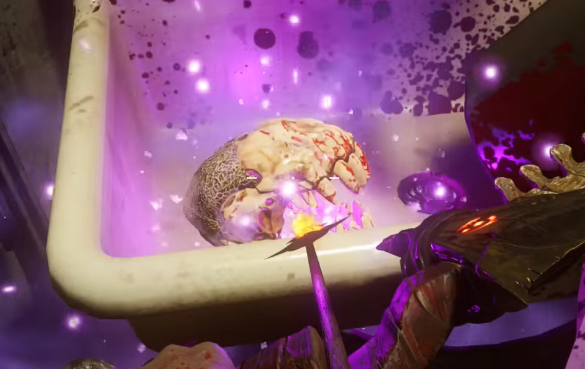
One is to the right of the teleporter in a sink:
One is at the rocket test site on the back of a truck:
Step 4: Got to the room underneath the clock tower and make crawlers, it will be around 6 required
Once completed, shoot the urn, you need to remember the words.
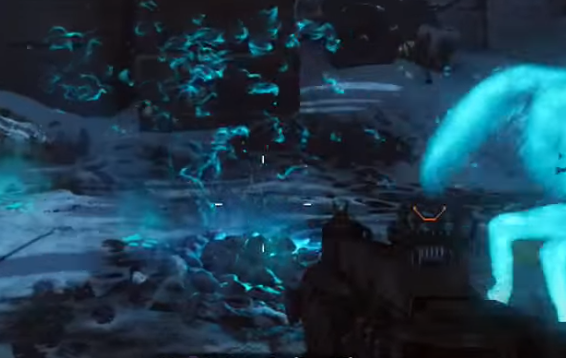
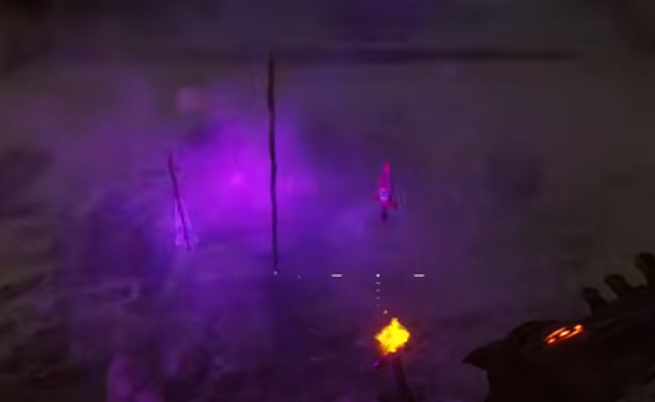
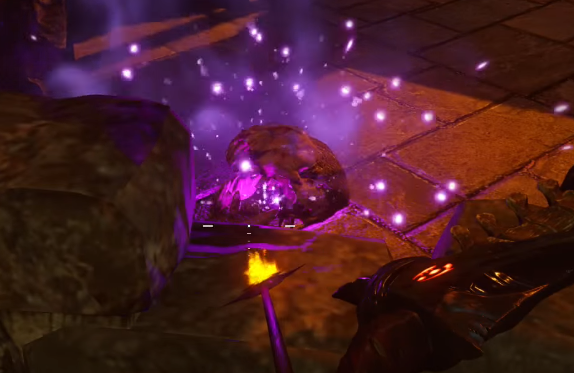
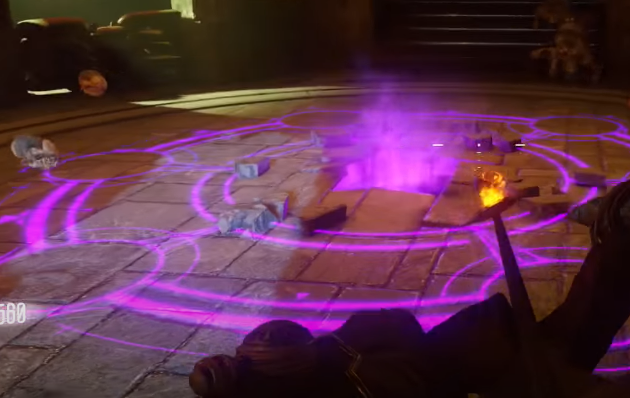
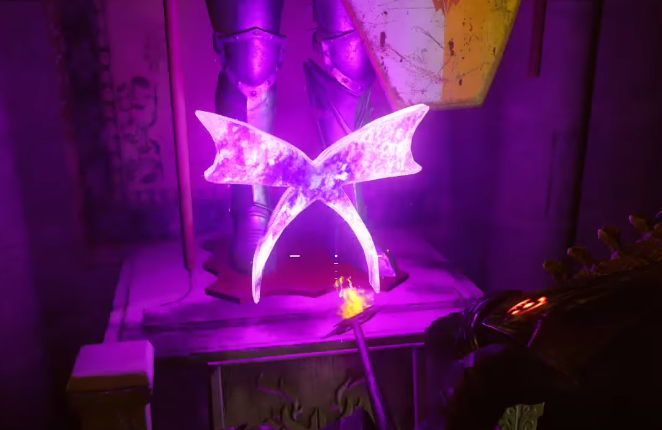
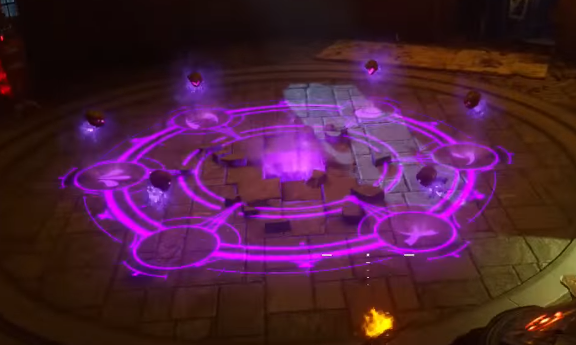
Step 5: Head to the undercroft and kill zombies, some of them will drop purple symbols.
When you pick up the symbols they drop, that symbol will glow on the ground around the urn.
It is okay if you collect symbols you do not need, but once the three symbols you noted earlier are lit up, you can shoot all three with your bow to finish the step.
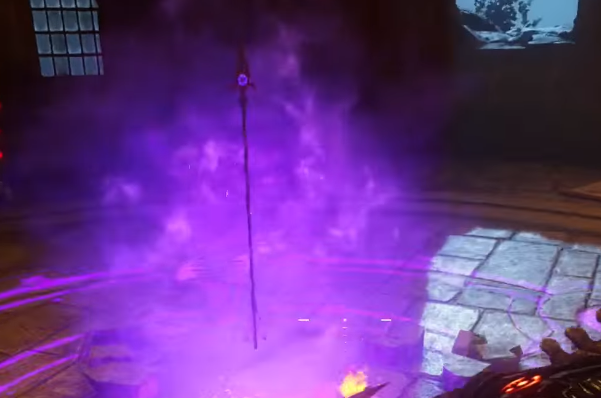
Interact with a flame that comes from the hole, and after a moment you will get a fixed arrow.
Step 6: Find the three knights matching the words spoken in step 4
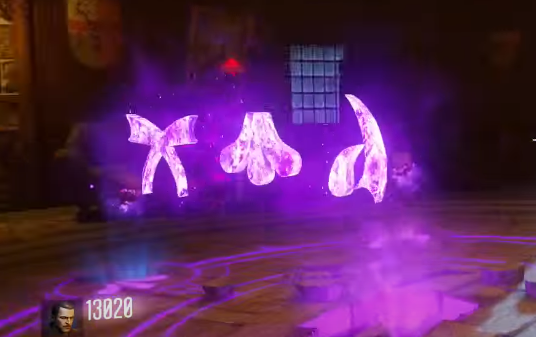
Step 8: Remember the symbols shown to you when you found the correct knights and head back to the room underneath the clock tower and shoot the corresponding symbols.
They will then appear in the air and the voice will confirm, that is his name.
Now collect the arrow
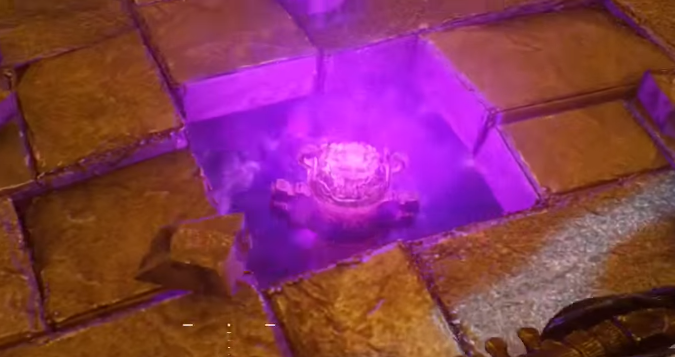
Step 7: Go to the undercroft and interact with the box surrounding the pyramid with a purple symbol. You will receive a max ammo, and you must kill zombies near the pyramid until the box is charged up. Once no more souls enter the box, you can insert your bow into the box, and it will come back out as the Void Bow.
Step 1: Inside the clock tower and up the stairs, shoot out the wall with a red symbol using the bow to get a broken arrow.

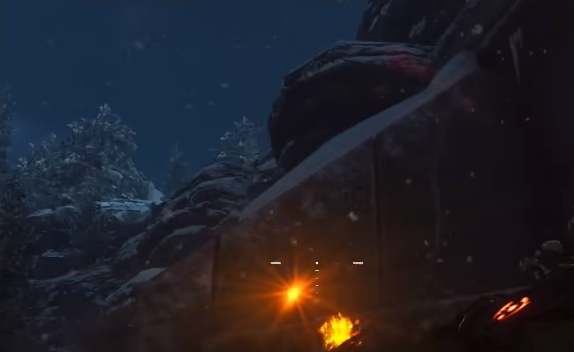
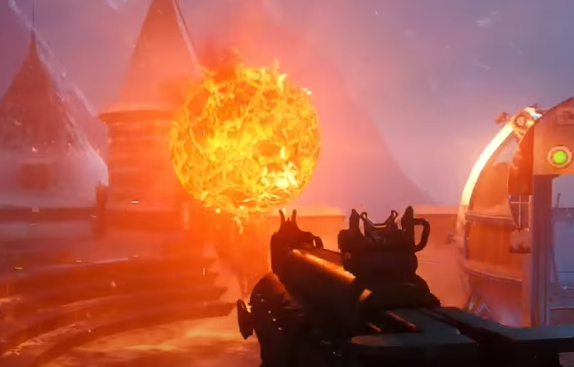
Step 2: Go to the rocket test site, and wait for the rocket to begin testing. Wait near the door with your arrow pulled back, and as soon as it opens, you must shoot a rock up and to the right which has a glowing red spot. If done quickly enough, a fireball will shoot up to the castle.
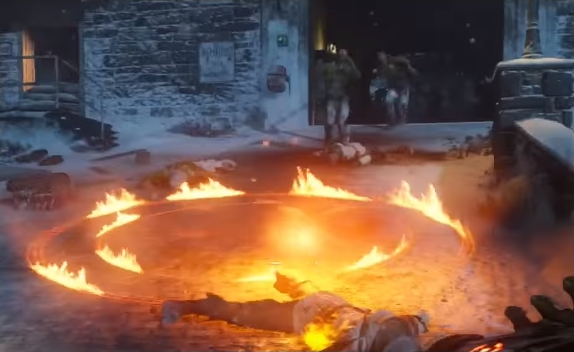
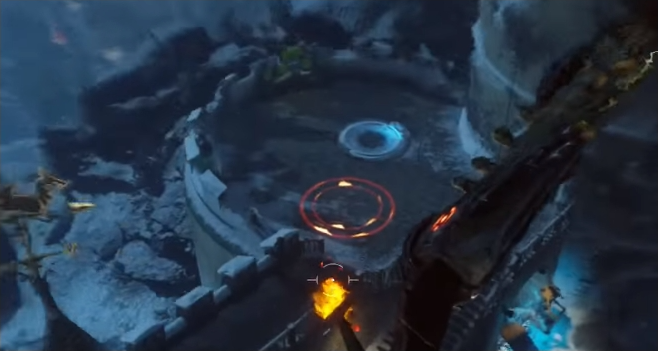
Step 3: You must shoot three red glowing rings while in mid-air using the Wundersphere. This is one of the hardest bows to get for this step alone. If shot correctly, the rings will have fire around them.
One is found between spawn and double tap, and can be shot on the Wundersphere from the rocket test site to spawn.
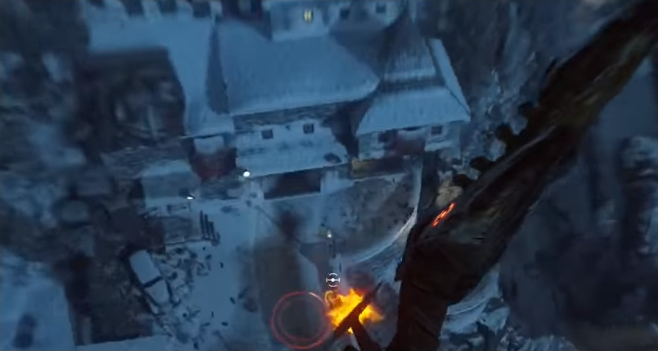
One is found on the bastion in front of one of the Wunderspheres, and can be shot using the Wundersphere from the courtyard.
One is found next to the landing pad at the clock tower, and can be shot from the Wundersphere near the buildable table.
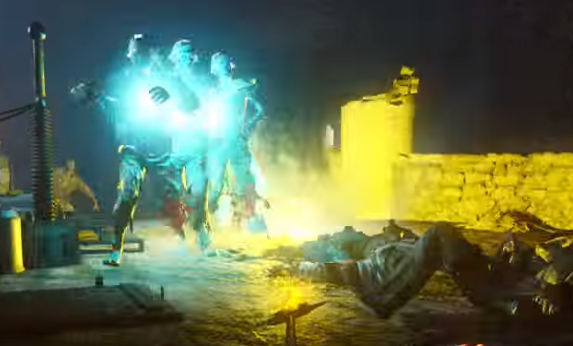
Step 4: While standing on each ring, kill zombies to collect their souls until no more can be collected.

Step 5: Head to the top of the clock tower and interact with the cogs where you collected your arrow.
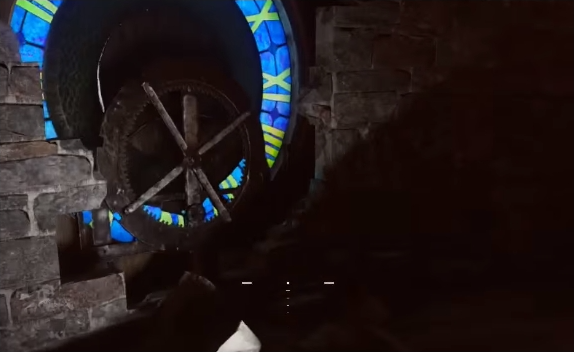
A symbol should appear
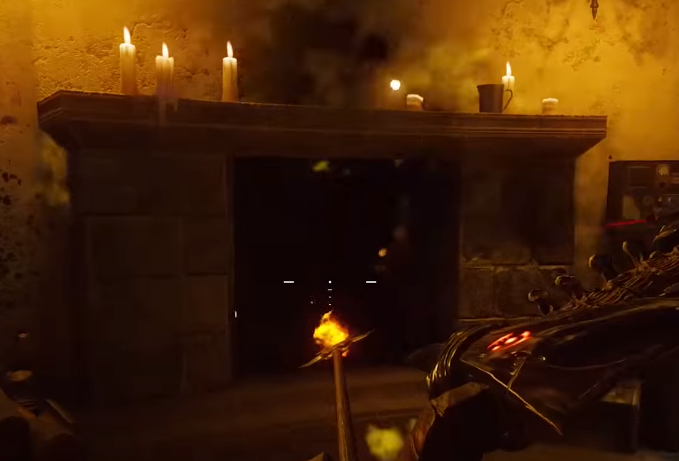
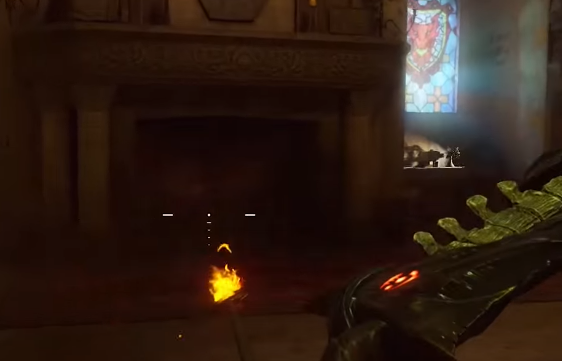
you will have to light a fireplace corresponding to that symbol.
There are three fireplaces
- Church
- Room upstairs at first dragon
- Near samanthas room
You need to light the fire place. At the circle closest to the fireplace a little volcano appears and this is how you know you are in the right circle. Stand inside the circle and shoot strategically to position for your second shot. Your last shot needs to go into the fireplace.
From the starting point, you must fire your arrow into the air, and wherever it lands, some glowing red rocks will appear. Standing in those rocks, you can fire again for another set of rocks. Eventually, you will want to end up in front of the fireplace so you can shoot directly into it. You must do this in three shots or less, however, so it is key your arrow lands in a good place each time.

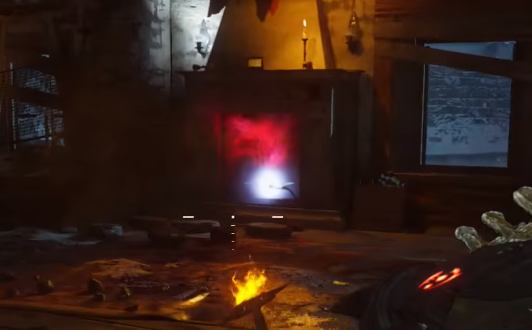
If the ring near Double Tap is glowing, you will need to light the fireplace near Samantha's Room. The easiest way to do this is to stand on the ring, shoot the snow underneath the bridge, then shoot up towards the entrance to samantha's room, and then shoot into the fireplace.
If the ring by the Death Ray and Wundersphere is glowing, you must shoot your arrow into the fireplace near the laboratory under the dragon head. The easiest way to do this is to aim and shoot to where your arrow lands in the courtyard near the entrance to the castle, then shoot into the laboratory, somewhere where you can see the fireplace, and then shoot the fireplace.
If the ring is by the clock tower is glowing, you will need to light the fireplace on the other side of the castle, in the room where the Wunderfizz machine is. The easiest way to do this is to aim high and try to land in the area under the bridge, then aim up to the walkway that is able to see the fireplace, and then shoot the fireplace.
Once done, you can interact with the fireplace to acquire your fixed arrow.

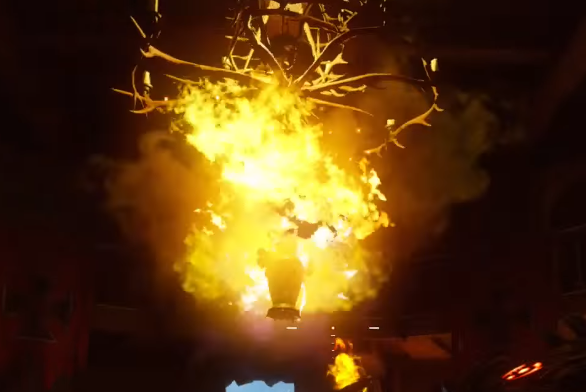
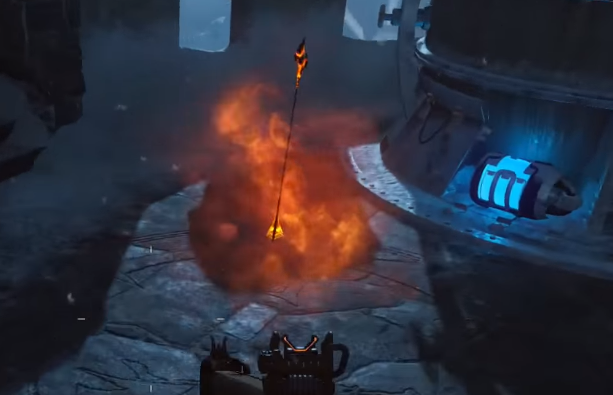
Step 6: You now need to interact with the fireball in the courtyard at where the weather vane is
You'll now receive your arrow
Step 7: Go to the undercroft and interact with the box surrounding the pyramid with a red symbol. You will receive a max ammo, and you must kill zombies near the pyramid until the box is charged up.

Once no more souls enter the box, you can insert your bow into the box, and it will come back out as the Fire Bow.