

Hells Warrrior
-
Posts
4,117 -
Joined
-
Last visited
-
Days Won
81
Content Type
Profiles
News & Announcements
Zombies Library
Easter Egg Guides
Intel
Forums
Everything posted by Hells Warrrior
-

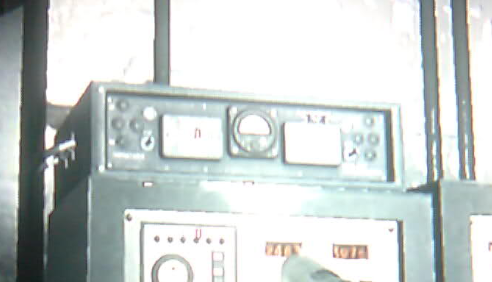
 Do the same thing as on solo (See: Step 4). Head to the power switch in the boat and you will see all the steering and controlling mechanisms. Move the steering wheel twice so that the brown handle is in the 5 o'clock position, then move to the levers. There are three of them, move the left one once, and the right once three times, leave the middle one alone.
 -
 Scattered across the ship, there are 4 radios that can be activated that don't play a message from Dr. Richtofen, these are where they are and the order to be pressed: 1st Radio: In the room below the power room, on top of file cabinets to the right when coming in from the Flinger side. 2nd radio: In the Stamin-Up room, as you are entering, turn right and it's on a barrel in the corner. 3rd radio: Go the bottom of the zipline that is on the ship, there should be a large cargo container a little bit ahead of you. At the bottom of the cargo container on the right, the radio will be in a vertical position. 4th radio: Underneath the stairs from PhD Flopper to the characters. After they have been pressed, a yellow flashing light should appear in the sky.
 -
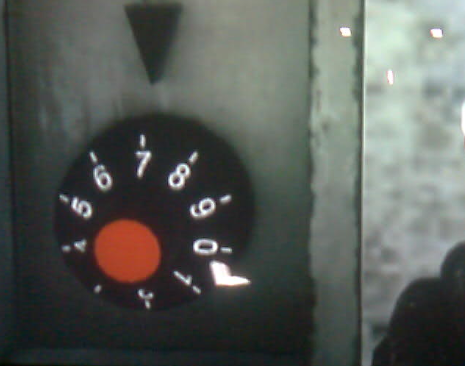 There are 4 levels to the lighthouse, each having a color-coordinated dial to it. From the top to bottom, the colors are yellow, orange, blue, then purple at the bottom. This is the algorithm to make sure the dials read 2746 from top to bottom: 1. Press PURPLE until PURPLE is at the correct number (6) 2. Press ORANGE until BLUE is at the correct number. (4) 3. Press YELLOW until ORANGE is at the correct number. (7) 4. You should now have the bottom 3 numbers at the correct numbers. 5. Press YELLOW until YELLOW is at the correct number (2). You HAVE to count the amount of times you turned the YELLOW dial. 6. Press PURPLE the same number of times you pressed YELLOW in step 5. 7. Press BLUE until it is back at the correct number.
 -
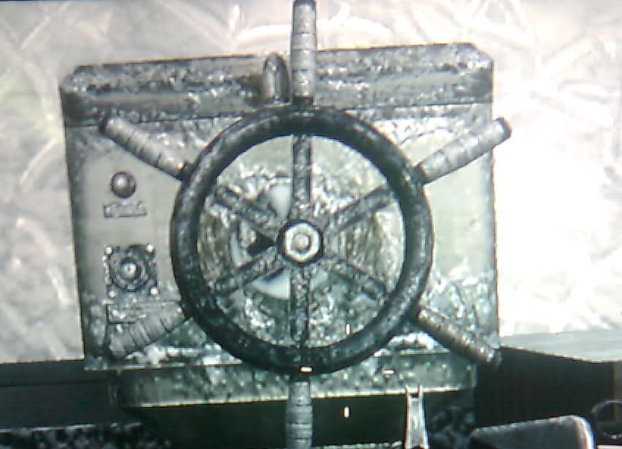 Head to the power switch in the boat and you will see all the steering and controlling mechanisms. Move the steering wheel twice so that the brown handle is in the 5 o'clock position, then move to the levers. There are three of them, move the left one once, and the right once three times, leave the middle one alone.
 -
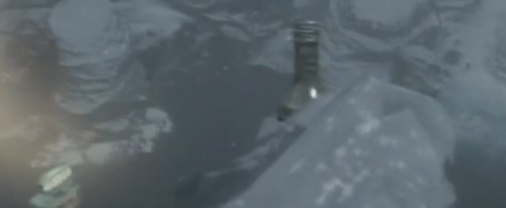 The vodka will just look like a bottle of vodka in an ice pack on some railings. Have one person stand below the vodka location while you or a partner knife the pack of ice. If you miss one of the bottles, check another location where it can spawn. There are four different locations for the vodka: 1. Go outside the PhD Flopper room and climb the stairs to the top, to the right of the Mystery Box location on the corner of the railing. 2. Directly next to Location 1, go outside the PhD Flopper room and halfway up the stairs outside it will be at the base of one of the stems holding the railing to the stairs. 3. From the spawn, run up the stairs that go the ship and pass the MPL on the wall. When you see a little opening on your left, stop and look up to the railing and it should be about in the middle of the railing. 4. On the ship, there is a part where a walkway is broken and you can drop down to a lower level of the ship. Before you drop down, look to the left and down and should see the vodka. Once you have the vodka, go back down the room the characters are at and to the left of the door is a tube, press the action button and send the vodka through the tube and to the characters.
 -
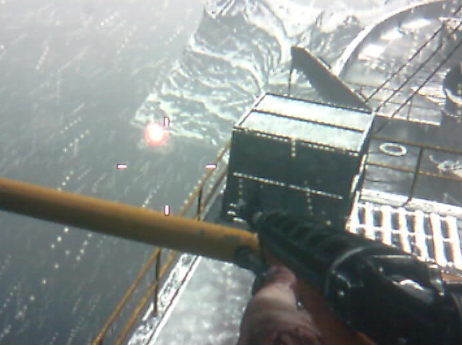 Four generators can be found around the map, each with a little red light on top of it. You must extinguish each using any explosives, such as a frag or semtex grenades, dolls, the crossbow, or the Scavenger. These four are located: 1. Directly behind you when facing the door the characters are trapped behind. 2. Out the left window in the room the Stamin-Up perk machine is in. For a greater challenge: try to hit it from the top of the lighthouse beside the mystery box location. 3. From the spawn, go to the stern (back) of the ship, take an immediate right, and clear the debris. The generator will be over the starboard (right side) railing opposite spawn. 4. From the side of the lighthouse with the large double doors and the AK-74u, there is a barrier down the hill on a bridge. Open it, walk down the bridge and the generator will be on your right. It can also be accessed by dropping down between the broken halves of the ship. For a bit more challenge, try to hit it with a grenade from the railing outside the Easter Egg room. Dempsey will say, “well, that did the trick,”
 -
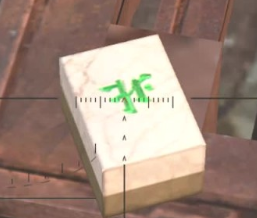 Use galvaknuckles to hit the four vertical beams on the tower. It is done exactly the same way as the Richtofen path, you need to use the mahjong tiles for the order of which they should be hit. Once this step is done, the achievement will be unlocked and you will be granted 6 perks just like the Richtofen path.
 -
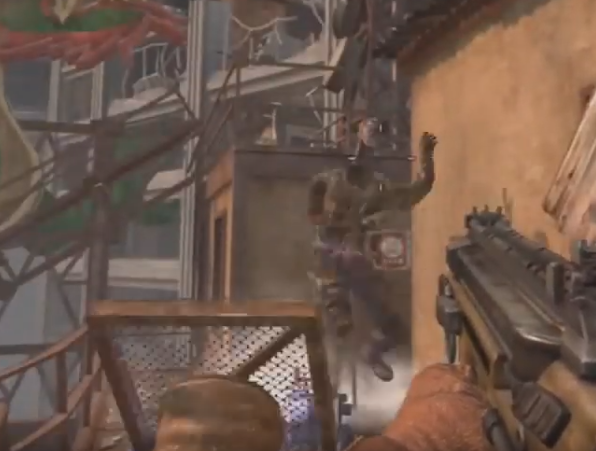
 Two player should grab the balls from the lions The other two players without balls put trample steams down on the symbols with lions on them and face them at the tower. The locations for these are in the spawn room, one located in the back area where you find the circuit box for the nav card machine, the other one is next to the two elevators near to the claymores, and another down one floor from the spawn at the bottom of the stairs. Make sure they have been down correctly, if done correctly you will not be able to pick them up. The other two players with the balls should need to put their trample steams down on the symbols and place the ball on the trample steam before it is ready to be used. The balls will be flung across the map simultaneously. At this point, Maxis will say:
 -
 Obtain the Krauss Defibrillators (upgraded Ballistic Knife) with Samuel, have Rusman down himself in the Buddah room from grenades or a zombie, although make sure he has Who's Who. Have Samuel shoot Rusman with the Krauss Defibrillator, shooting anywhere on the floor is good enough.
 -
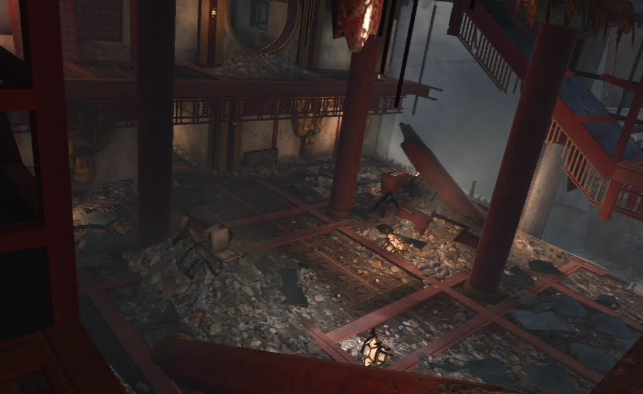 You will need to ill zombies in the Buddah room, until maxis says reincarnation. This can take anywhere from 1-6 rounds, sometimes longer.
 -
 This final step requires at least one player to buy the Galvaknuckles, remember, they're inside the elevator shaft in the upside down building. The player must hit the four corners of the satellite tower on the rooftop of the second building until it glows blue. The order the corners must be hit is random. You can figure it out based on seven or eight small white tiles hidden around the map, but it would probably take longer than trial and error. Activating the tower will complete the Easter Egg and unlock the High Maintenance achievement / trophy.
 -
 For this step, four trample steams are required (how to build the trample steam) You need to build one on the table in the first building, all four players are required to obtain one. All four need to be placed on four more gold symbols around the map. Three symbols are located on the rooftop of the second building, and one is located near the elevator just outside the starting room. Make sure you aim them so they fling zombies at the satellite tower. When enough are killed, the step will be complete.
 -
 Richtofen asks you to get the balls wet. You need to build the Sliquifier to do this (see the side quest for how to build the sliquefier here) shoot each one until they start spinning, this may take two magazines.
 -
 The next step is to do something with the balls. That something depends on which path you plan to take. The balls are located under the paws of the two lion statues in the starting room. These statues are on both sides of the first door. Which path are you going to take? Maxis's path or Richtofens path
 -
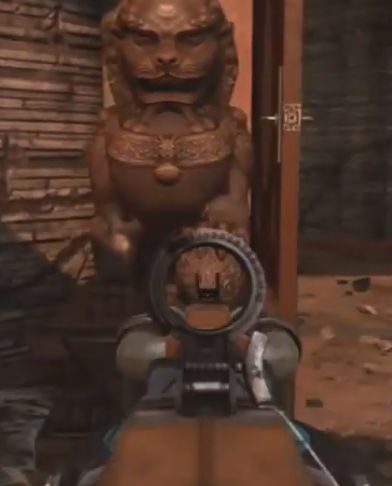
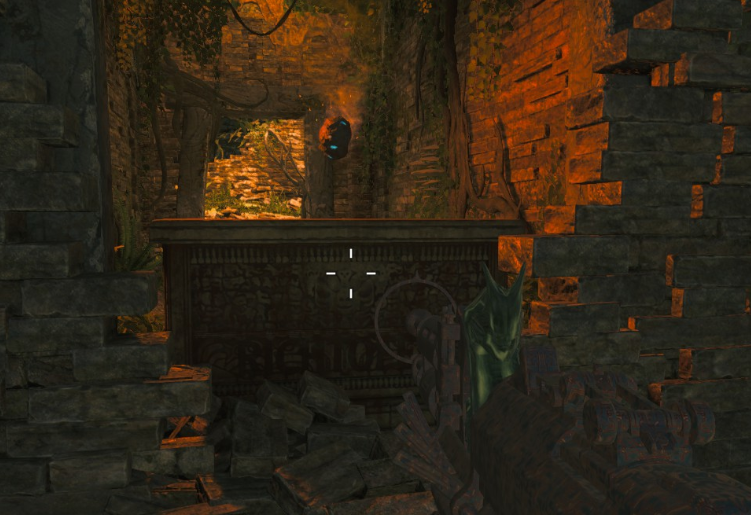
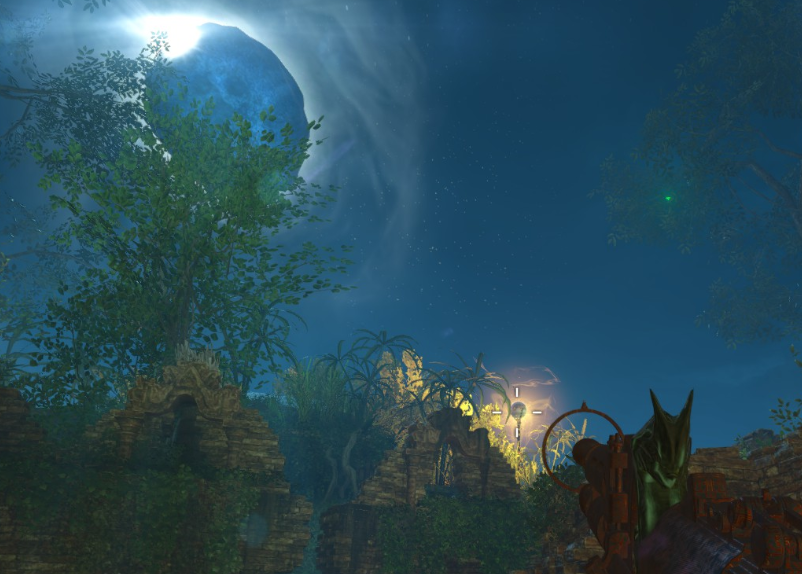
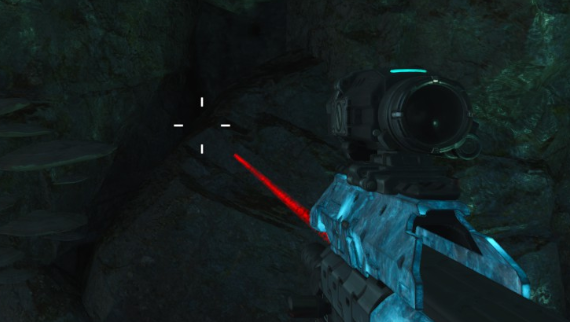
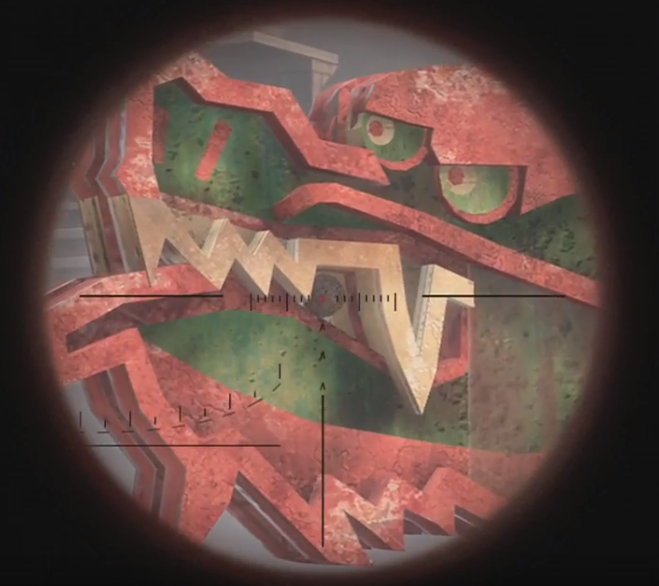 This step is pretty straight forward, all you're required to do is shoot two black balls out of the two dragon signs on the rooftop of the second building. A sniper gun would ideal (as shown below).
 -
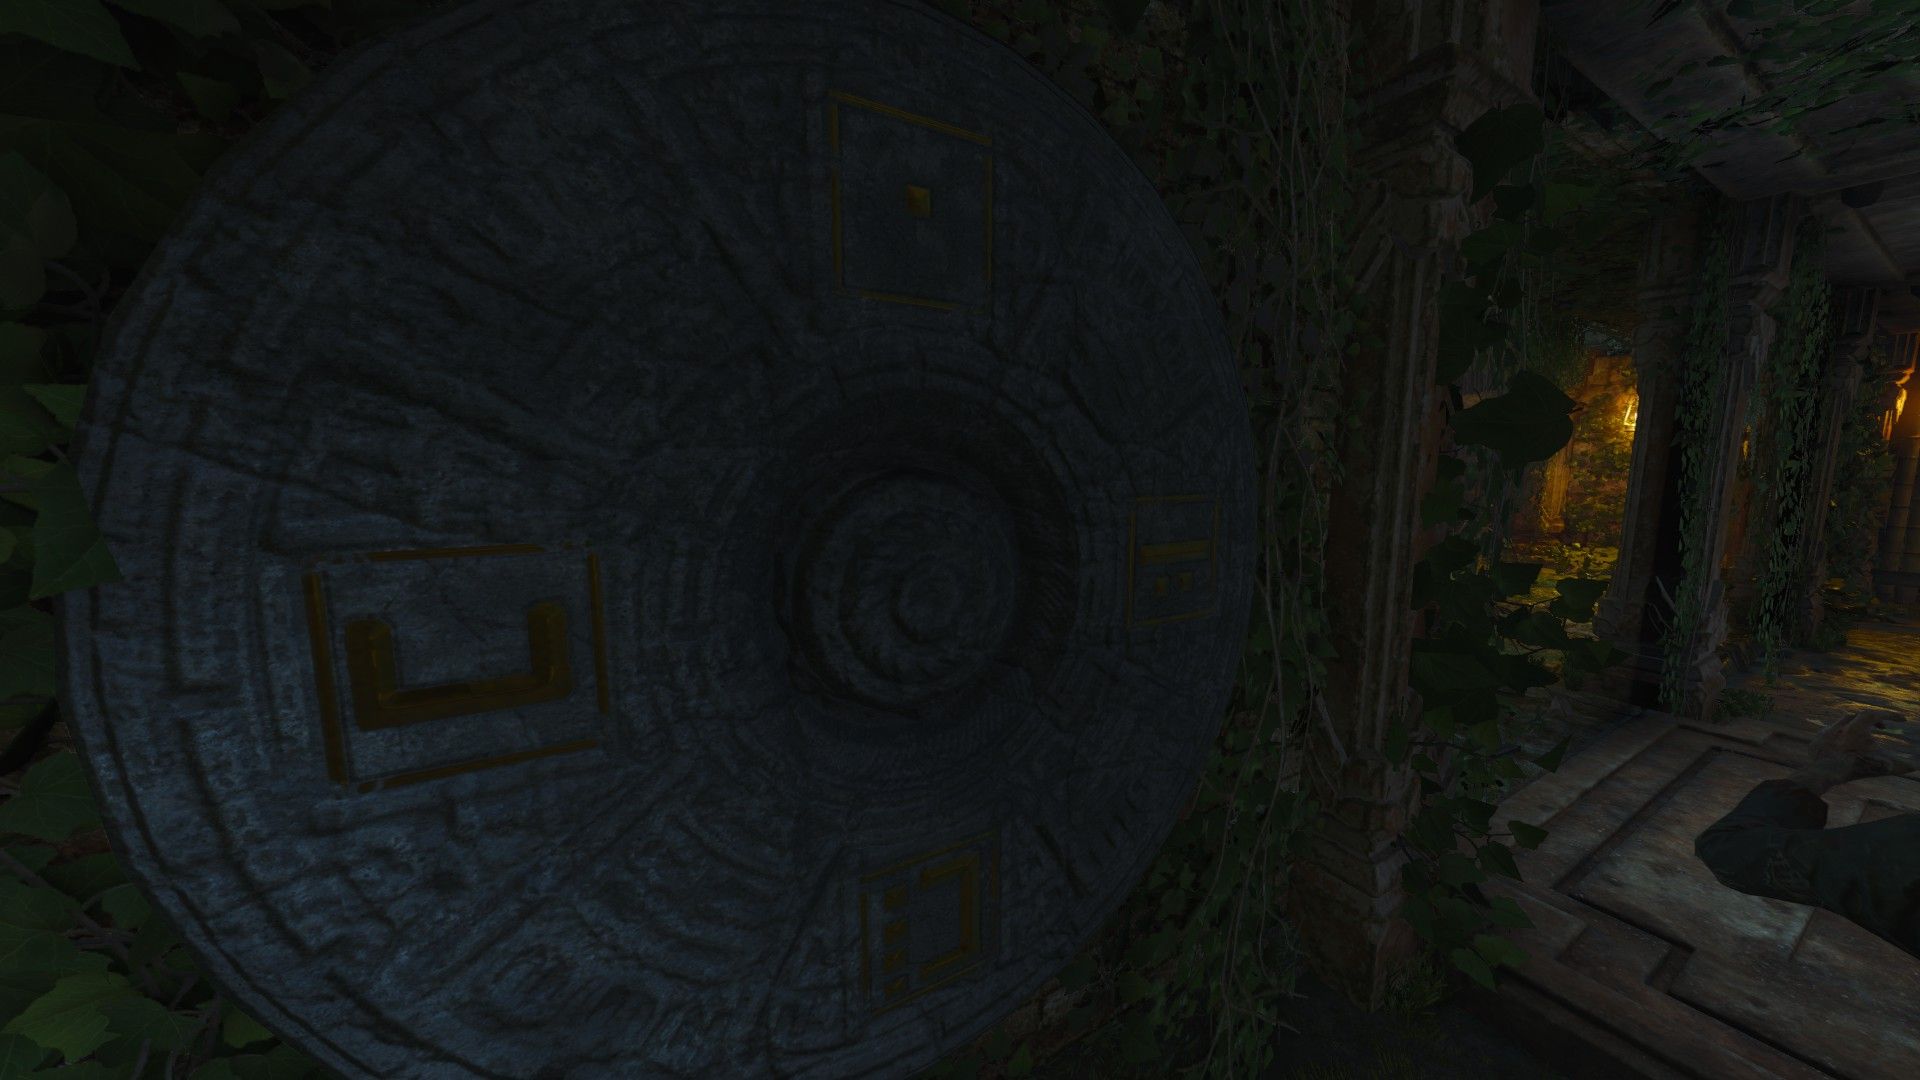
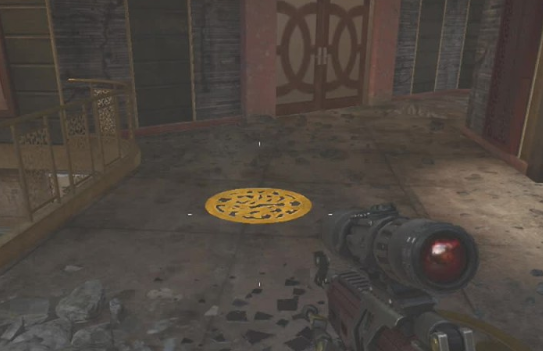 There are four seals that look similar to the seals that were on the Elevator, located throughout the map on the floor. You do not have to stand on these seals at the same time but they do need to be done in the correct order. To activate any player just needs to walk over it, If the correct it will light up, but if incorrect all they will reset and you will need to do it again until the correct order has been performed. The order is not reset within the game and the first, second etc. will be the same all the time until you start a new game.
 -
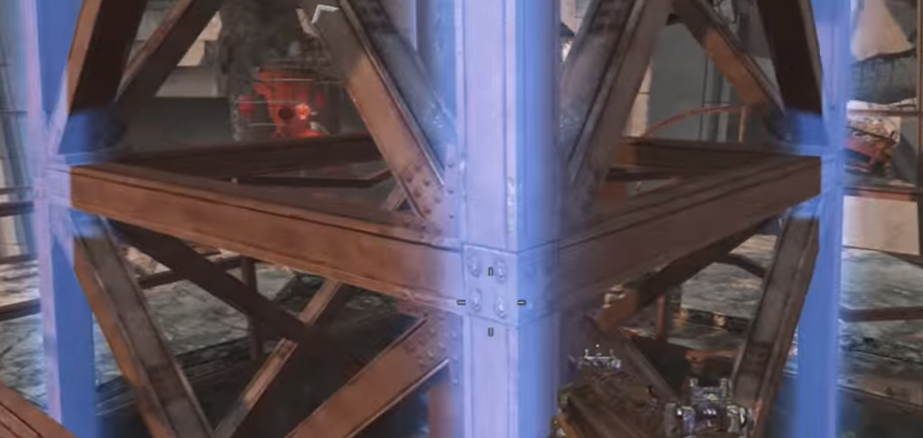
 Four players are required for this step, all players are required to step onto four gold emblems on top of four different elevators. You'll find two elevators located in the first building, the other two are in the second building. it's important not to step on the emblem before the others, it's very like that the elevator will rise and crush the player! The emblems will glow when all four are stepped on at the same time.
 -
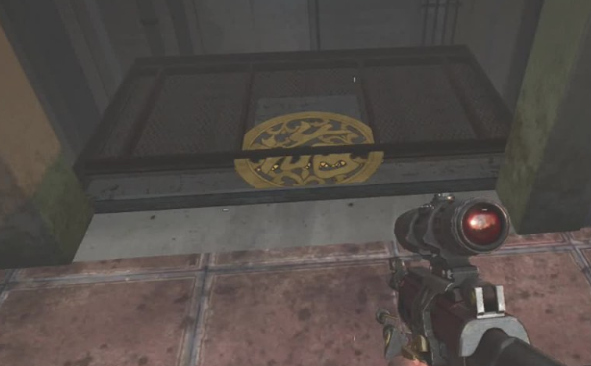
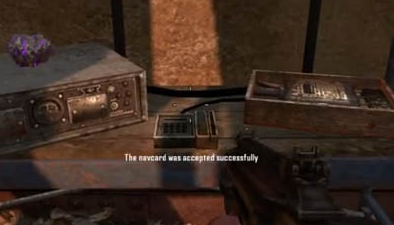 Get to power and turn it on. After this, make sure the Navcard reader is build under the ramp leading to the Tower on the Dragon roof (see part locations here) and put the Nav Card from Green Run into this device.
 -
 Now, activate the PaP opening sequence, as you would normally do it. The wall behind the machine will be gone, revealing an altar with RICHTOFEN writen in it's front, and the Focusing stone hovering above it. Pick it up to complete the easter egg. Congratulations ! (Note that only the one picking up the stone will have the perma perks, but everyone will have the achievement.) Once the easter egg is done, you can do it again in the same game, in order to get more focusing stones. To do so, simply interact with the radio that appeared in the spawning area, beneath Pack-a-Punch stairs.
 -
 Activate the eclipse. At this point you will have to shoot the Focusing crystal above the mud maze, with your Fractalizer. The beam will bounce and eventually end up hitting the element 115 meteorite, above the main temple, shrinking it. Move up the stairs, the PaP will be missing and a dialog will play. You will have to place the dynamite in the wall's hole. Once ended, water will push you away.
 -
 Activate the eclipse. You will learn from a radio near the PaP staircase, that Brock has lost his bag of dynamite. It is currently hanging from the crystal tower, near the minecart entrance. To get it down, you will firstly need to knife 4 particular gongs in a total of 8. When a wrong gong is knifed, the crystals will glow red, if a correct gong is hit, nothing will glow. They are located in the following places Near Brock and Garry's brick prison, and the tunnel entrance In the same area, in front of the tunnel entrance On the left of the minecart entrance Next to a wallbuy location, in the spawning room Right on your left, when entering the mud maze from the spawning room On your right, before leaving the mud maze On the far right, after the mud maze, before the wooden bridge Right on your right side after the wooden bridge When all correct gongs are activated, the crystals will glow yellow. To continue, you need the Fractalizer (The PaP-ed version of the 31-79 JGb 215). Shoot the crystal, the one which the dynamite is hanging from, the ray will bounce between crystals and eventually come back to drop the dynamite. Be careful, you need to catch the dynamite by standing bellow it when it falls, otherwise you will need to do this step again.
 -
 Activate the eclipse. A radio should have appeared on a crate near the minecart. It will give you a code "16 1 3 4". Head back to the mud maze, there are 4 circular displays, where you must enter this code. Located in the following places Directly to your right when coming from the spawn, select the single dot Directly to your left when coming from the spawn, select the four dots In the far left when coming from spawn, select the three dots In the far right when coming from spawn If done correctly, the eclipse should end.
 -
 Activate the eclipse. 12 pannels have appeared on the map, you need to knife each and everyone of them. They are located: In the spawning room, left to the Pack-a-Punch staircase Facing the door right to Quick-Revive Right in front of the previous one Facing the door leading to the cart Right in front of the previous tile In the room with the cart and Brock and Garry's brick prison, on a wall facing the spawn Next to a gong near the minecart In the power room, at the left of the left power switch In the room between the waterfall pool and the power generators room, on a wall On a wall before the small stairs In the area between the wooden bridge and the mud maze, on the far left when coming from the bridge In the mud maze, on the right when you are heading to the water slide Once done, head back to the minecart located above the area with Brock and Garry's brick prison. You should see a wooden tipi. Destroy it with an explosive. If done correctly, you should have come back to the present.
 -
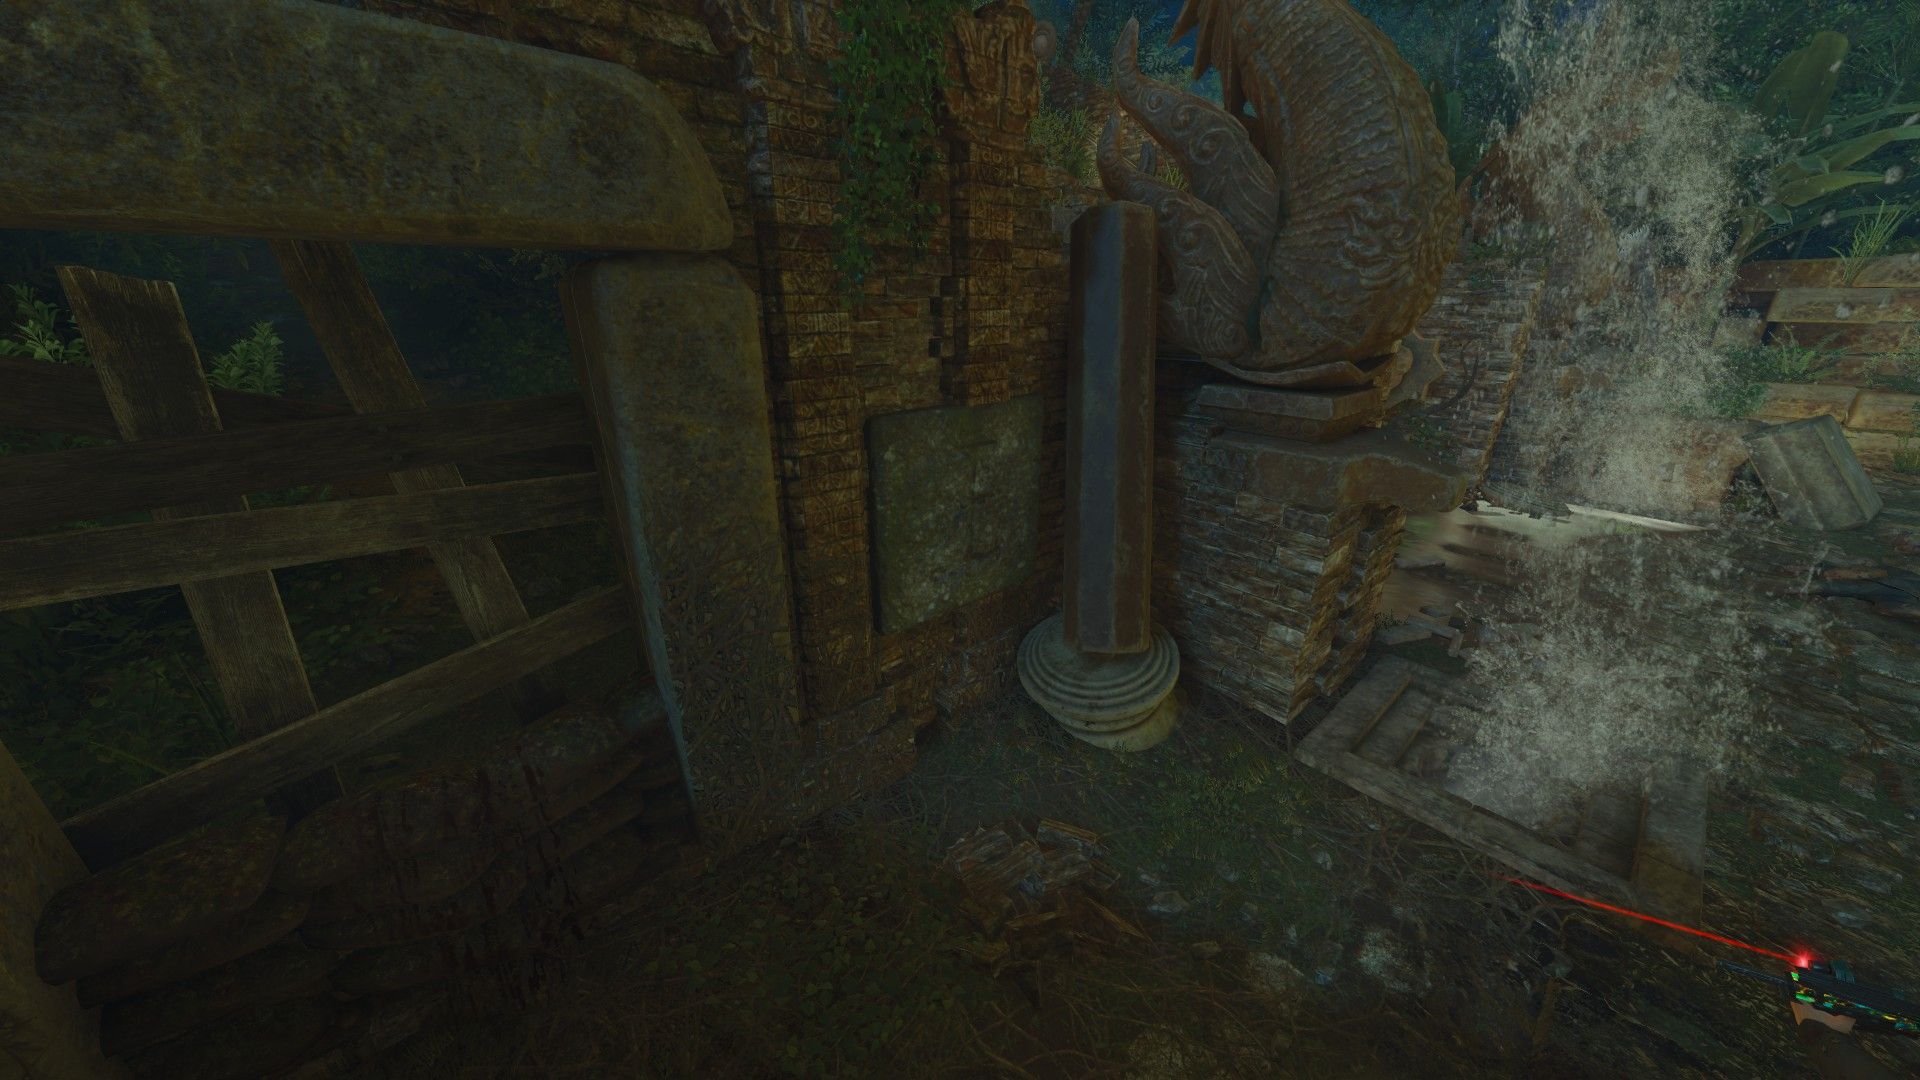
 Activate the eclipse. Go now TO the other side of the map, after the wooden bridge in a tunnel leading to the waterfall. In this tunnel stands 4 holes on the walls. You need to use terrestrial mines to fill the holes. Place the mines near them, and lure a zombie to blow it up.
 -
 Once the gas leak's start. Get a Napalm Zombie and let it through the tunnel with the gas leaks and once is reaches all of the leaks explode it to stop the mechanism crushing the man. Go back and pull the lever.